
Settings is where your agency's preferences, form rules, workflows, and audit logs live. Only users with an admin role see Settings in the CloudPCR navigation — if you do not see it, your account does not have access.
How to open Settings
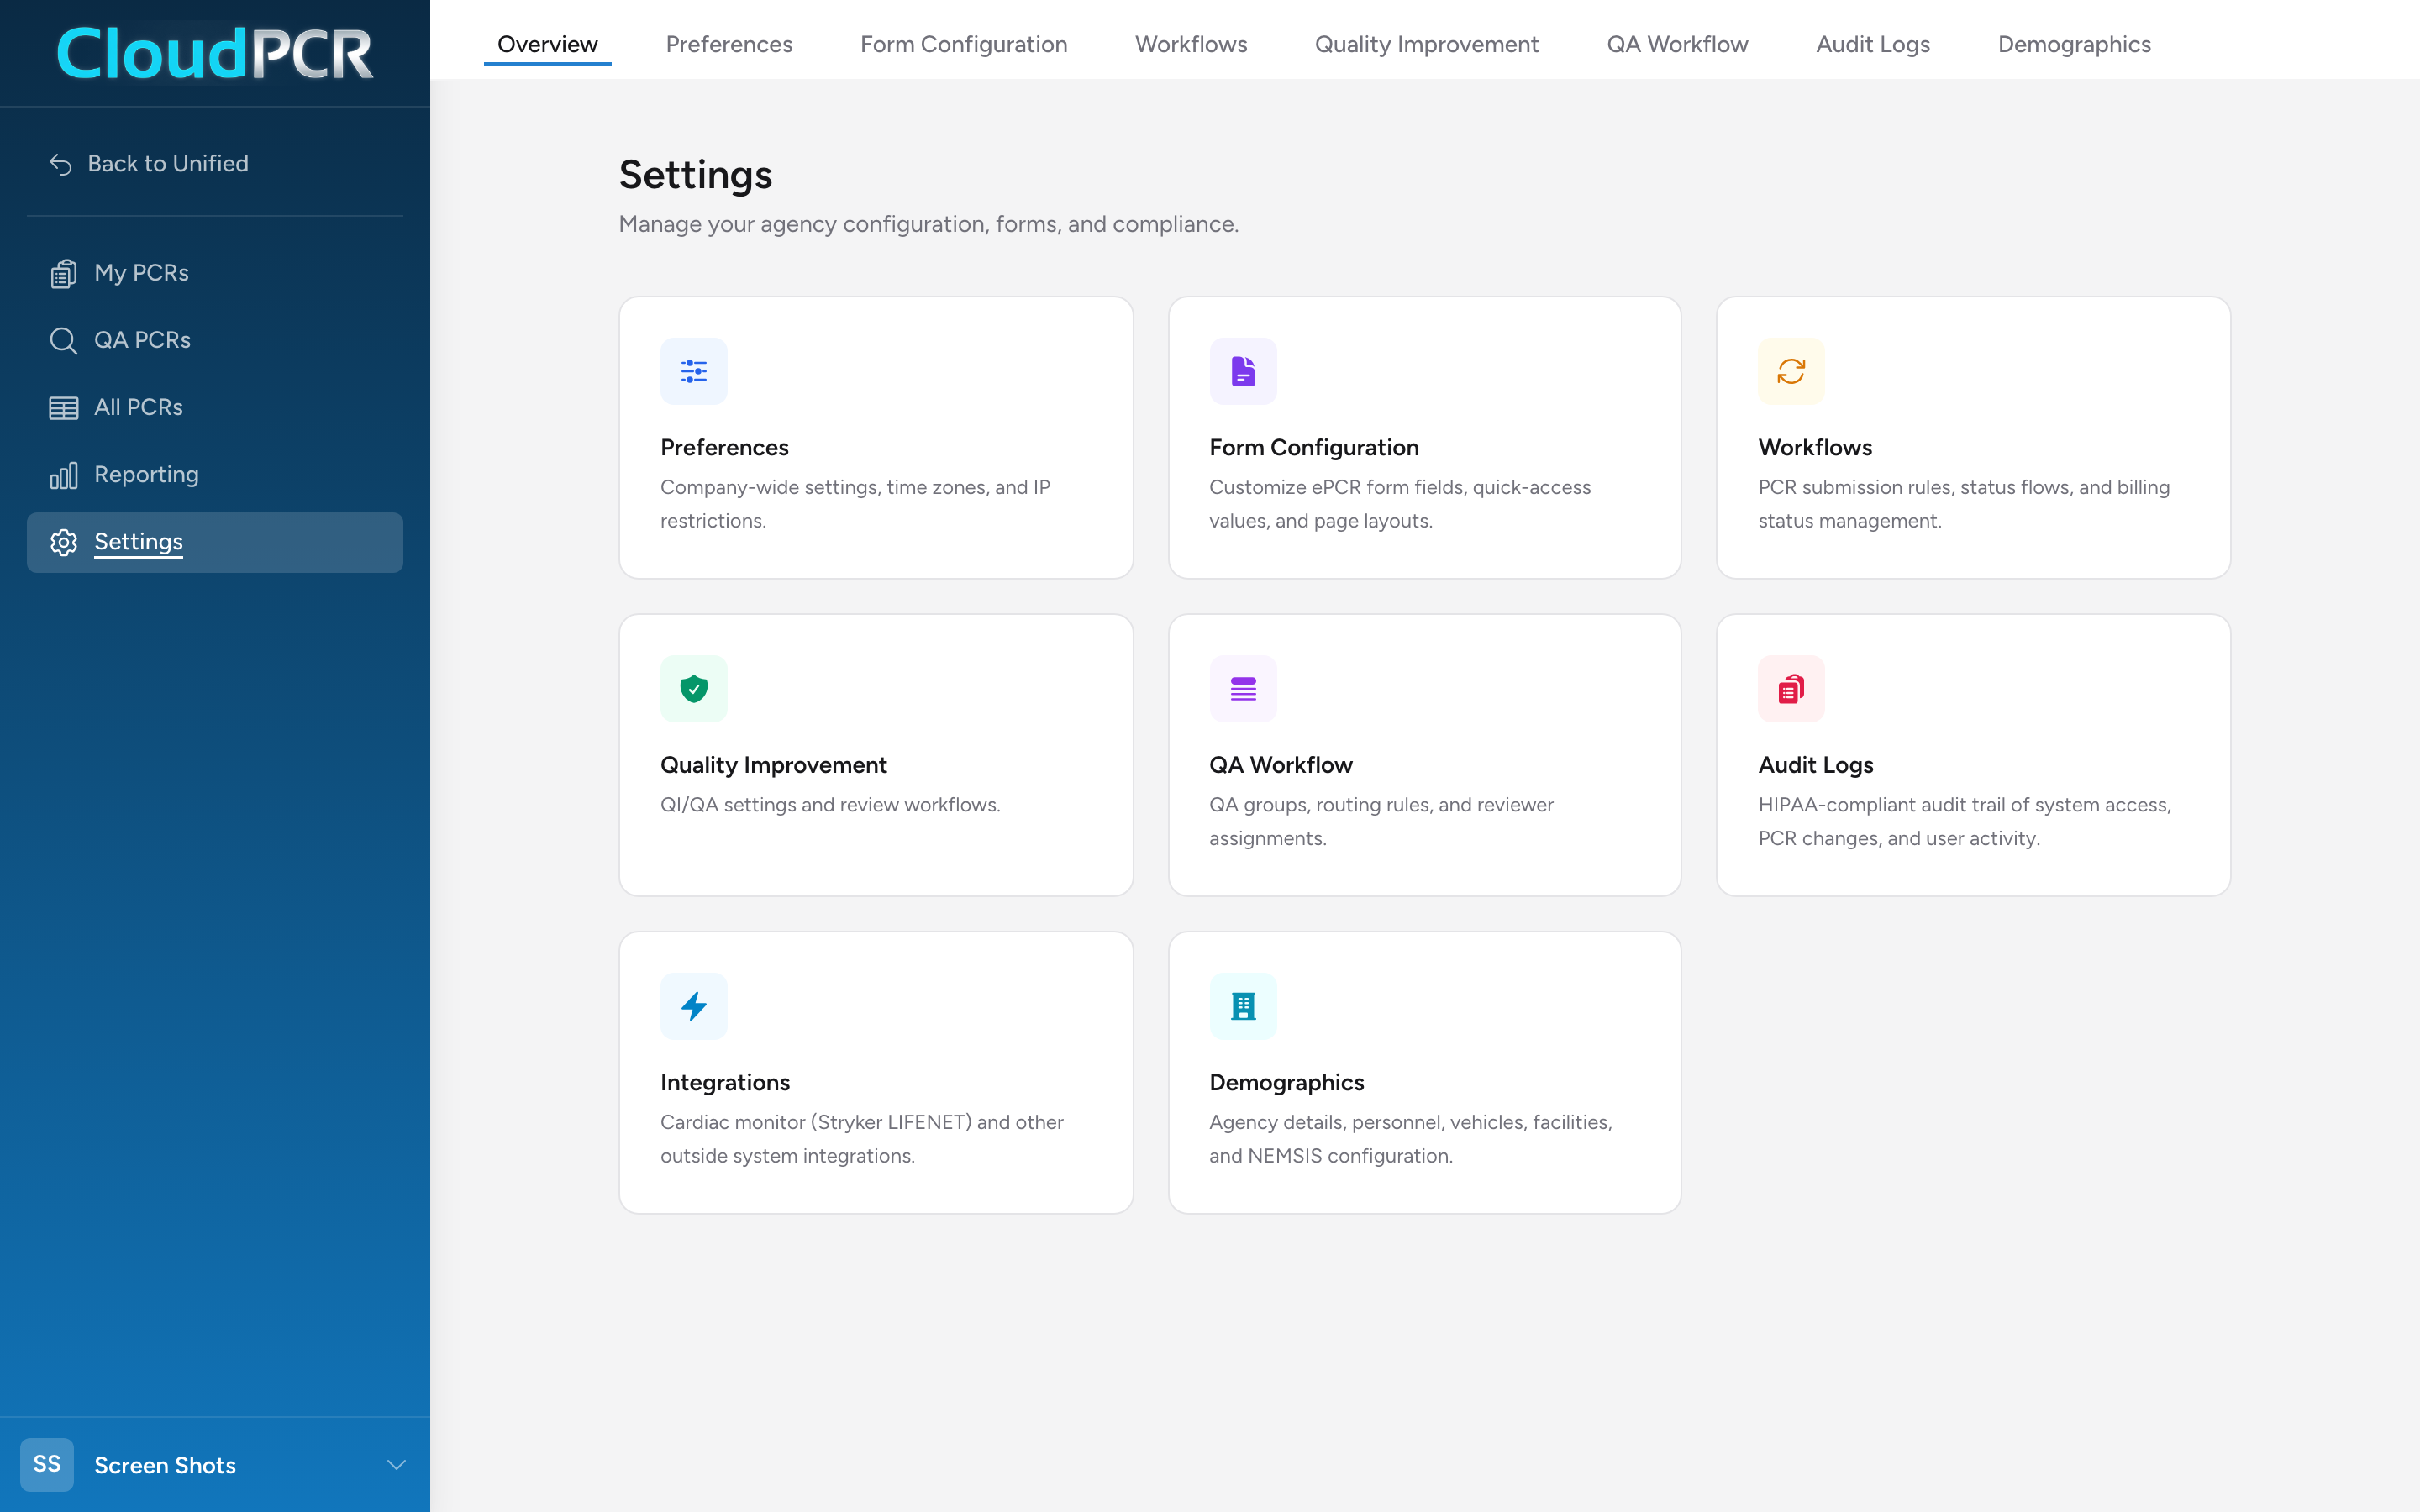
- From the navigation, click Settings (the cog icon).
- You land on the Settings Overview. From there you can jump to any specific area.
What each card is for
- Preferences — validation strictness and automatic incident numbering.
- Form Configuration — hide fields, sections, and tabs you do not use; favorite values you pick most often; set agency-specific defaults. Your state's NEMSIS form is already loaded — this is where you customize it for your agency.
- Workflows — a reference chart of how a PCR moves through In Progress → Submitted → QA review, and how billing status flows in parallel. The flow itself is built in and not editable here — this panel is for understanding the status transitions.
- Quality Improvement — custom validation rules your agency wants to enforce on every PCR, plus age-based vital-sign thresholds that drive automatic clinical flagging in the QA queue.
- QA Workflow — QA groups, routing rules, and reviewer assignments.
- Audit Logs — a HIPAA-compliant trail of system access, PCR changes, and user activity.
- Integrations — Stryker LIFENET cardiac monitor setup and other outside-system integrations.
- Demographics — agency profile, vehicles, personnel, facilities, locations, contacts, devices, and NEMSIS configuration.