Vitals are entered as one or more sets, each with its own timestamp. Add a new set every time you reassess the patient.
Add a vital set
- On the Timeline tab, click + Vitals.
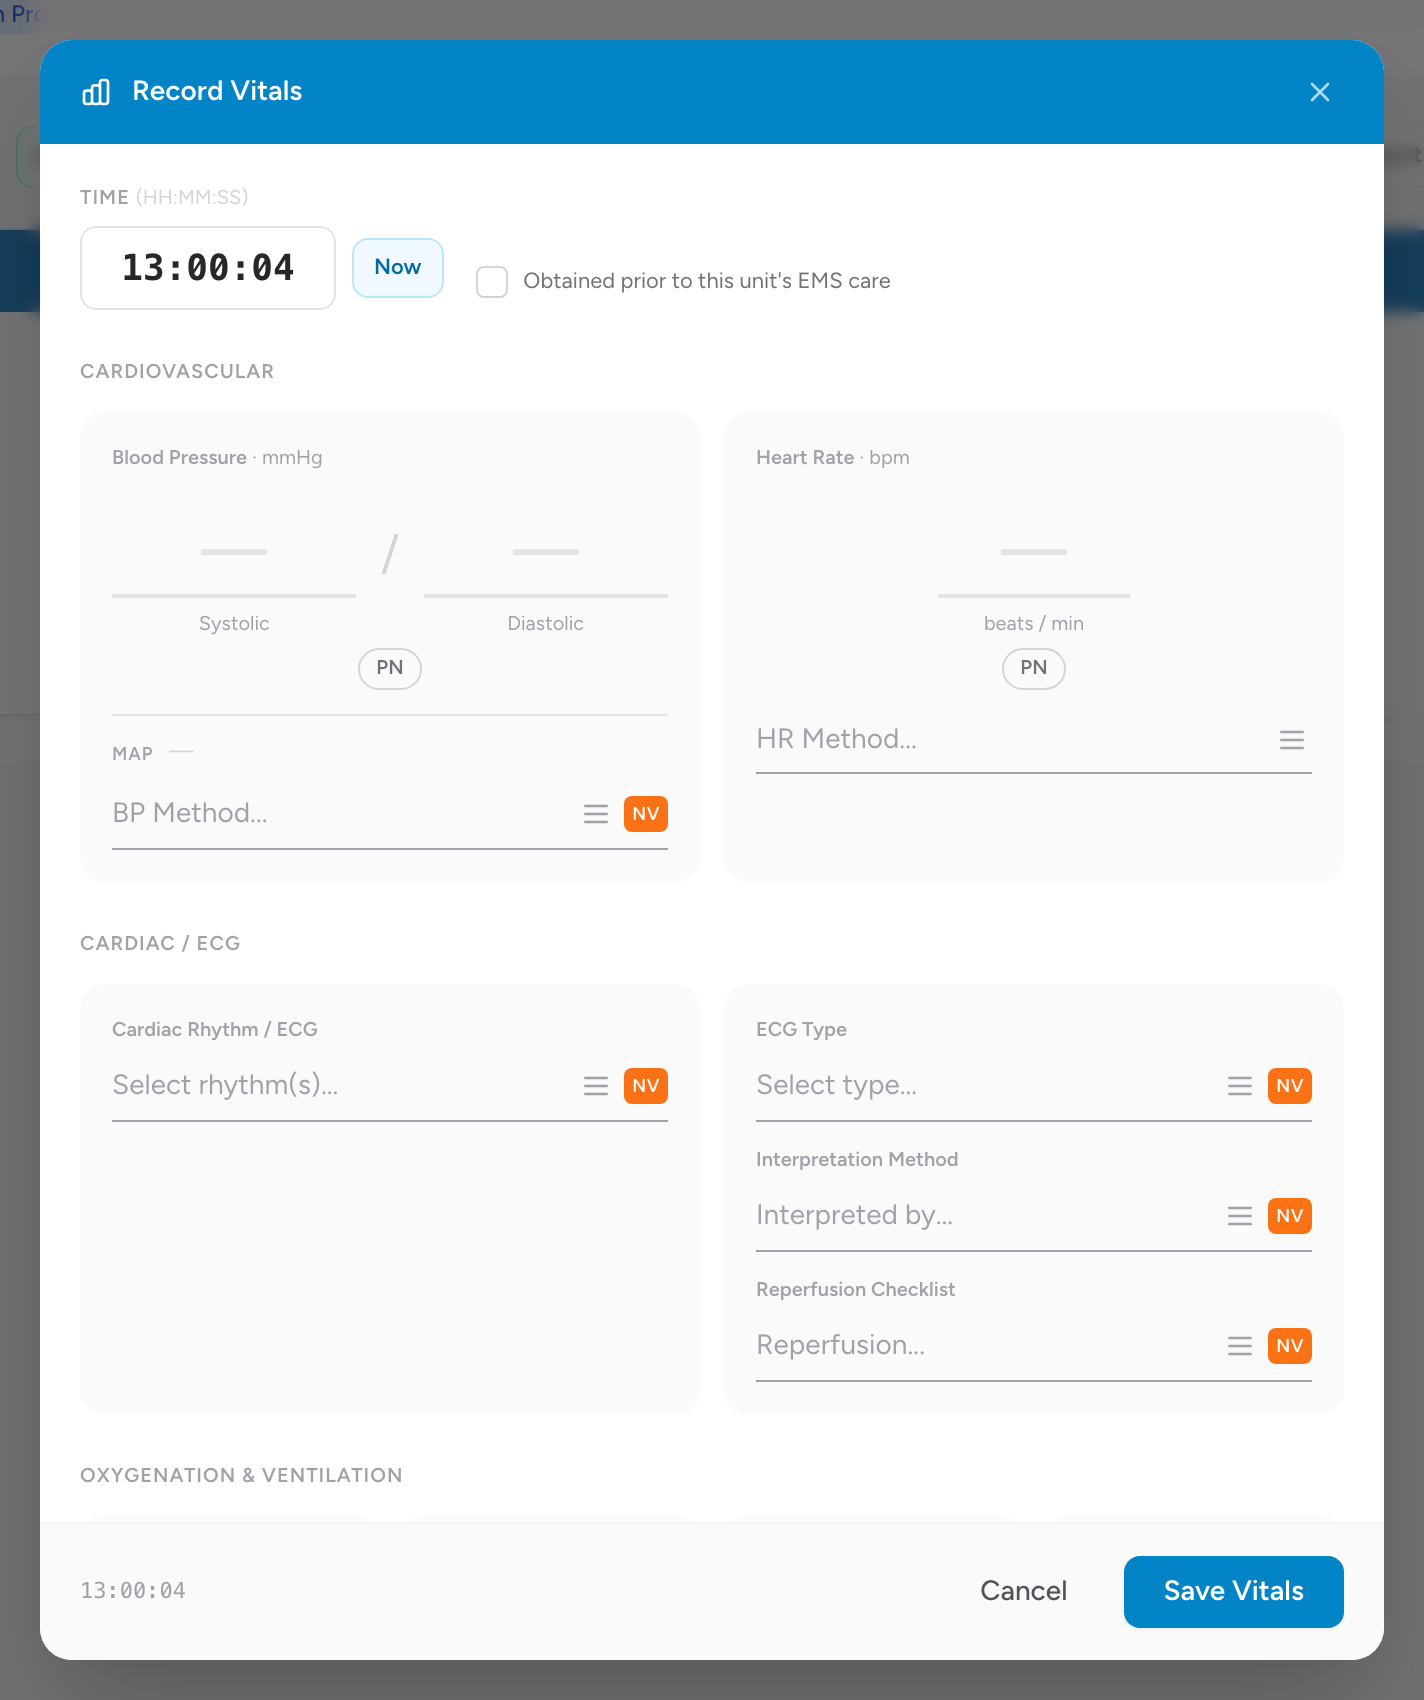
- The Record Vitals modal opens. Enter the time, or click Now.
- Check Obtained prior to this unit's EMS care if this set was taken before you took over.
- Enter the readings you took in the Cardiovascular, Cardiac / ECG, Oxygenation & Ventilation, Other Measurements, Mental Status, Pain Scale, and (optional) Stroke Assessment sections.
- Click Save Vitals.
What is in a vital set
- Blood pressure (systolic and diastolic) and the method. MAP is auto-calculated.
- Heart rate and the method.
- Cardiac rhythm / ECG, ECG type, and method of interpretation.
- Respiratory rate and effort.
- Oxygen saturation (SpO2) and pulse rhythm.
- End-tidal CO2 (EtCO2) and capnography type.
- Temperature and the method.
- Blood glucose.
- Glasgow Coma Score — eye, verbal, motor (the total auto-calculates), plus AVPU.
- Pain scale and the pain scale type used.
- Stroke Assessment — result, scale type, and score (optional).
How many sets do I need
For most transports, NEMSIS expects at least two complete sets — one initial and one immediately before patient transfer at the destination. Critical patients should have more frequent reassessment. Your state may have its own minimum.
An example
You respond to a syncope call. On scene you take a full set of vitals: BP 90/60, HR 108, RR 18, SpO2 96% on room air, BGL 145, GCS 15, pain 0/10, sinus tachycardia on the monitor. You add this set to the Timeline. You start an IV and give 500 mL of saline. Ten minutes later you reassess: BP 110/70, HR 92. You add a second set with just the values that changed. Right before you arrive at the hospital, you take a final set and add it.
Tip: You do not have to fill in every field on every set. The first set should be complete. Follow-up sets only need the values that changed or the values your state requires on every set.