If your agency uses Stryker LIFENET cardiac monitors, CloudPCR can import the data from the monitor directly onto your PCR — vitals, 12-leads, defibrillation events, and the PDF reports the monitor generates. No typing, no re-entering, no jumping between screens.
Before you can import
An administrator has to set up the integration first. See Cardiac monitors and the Stryker LIFENET integration. If you do not see an Import button on the Timeline toolbar, or if it is greyed out, the setup is not complete yet — ask your administrator.
Open the import modal
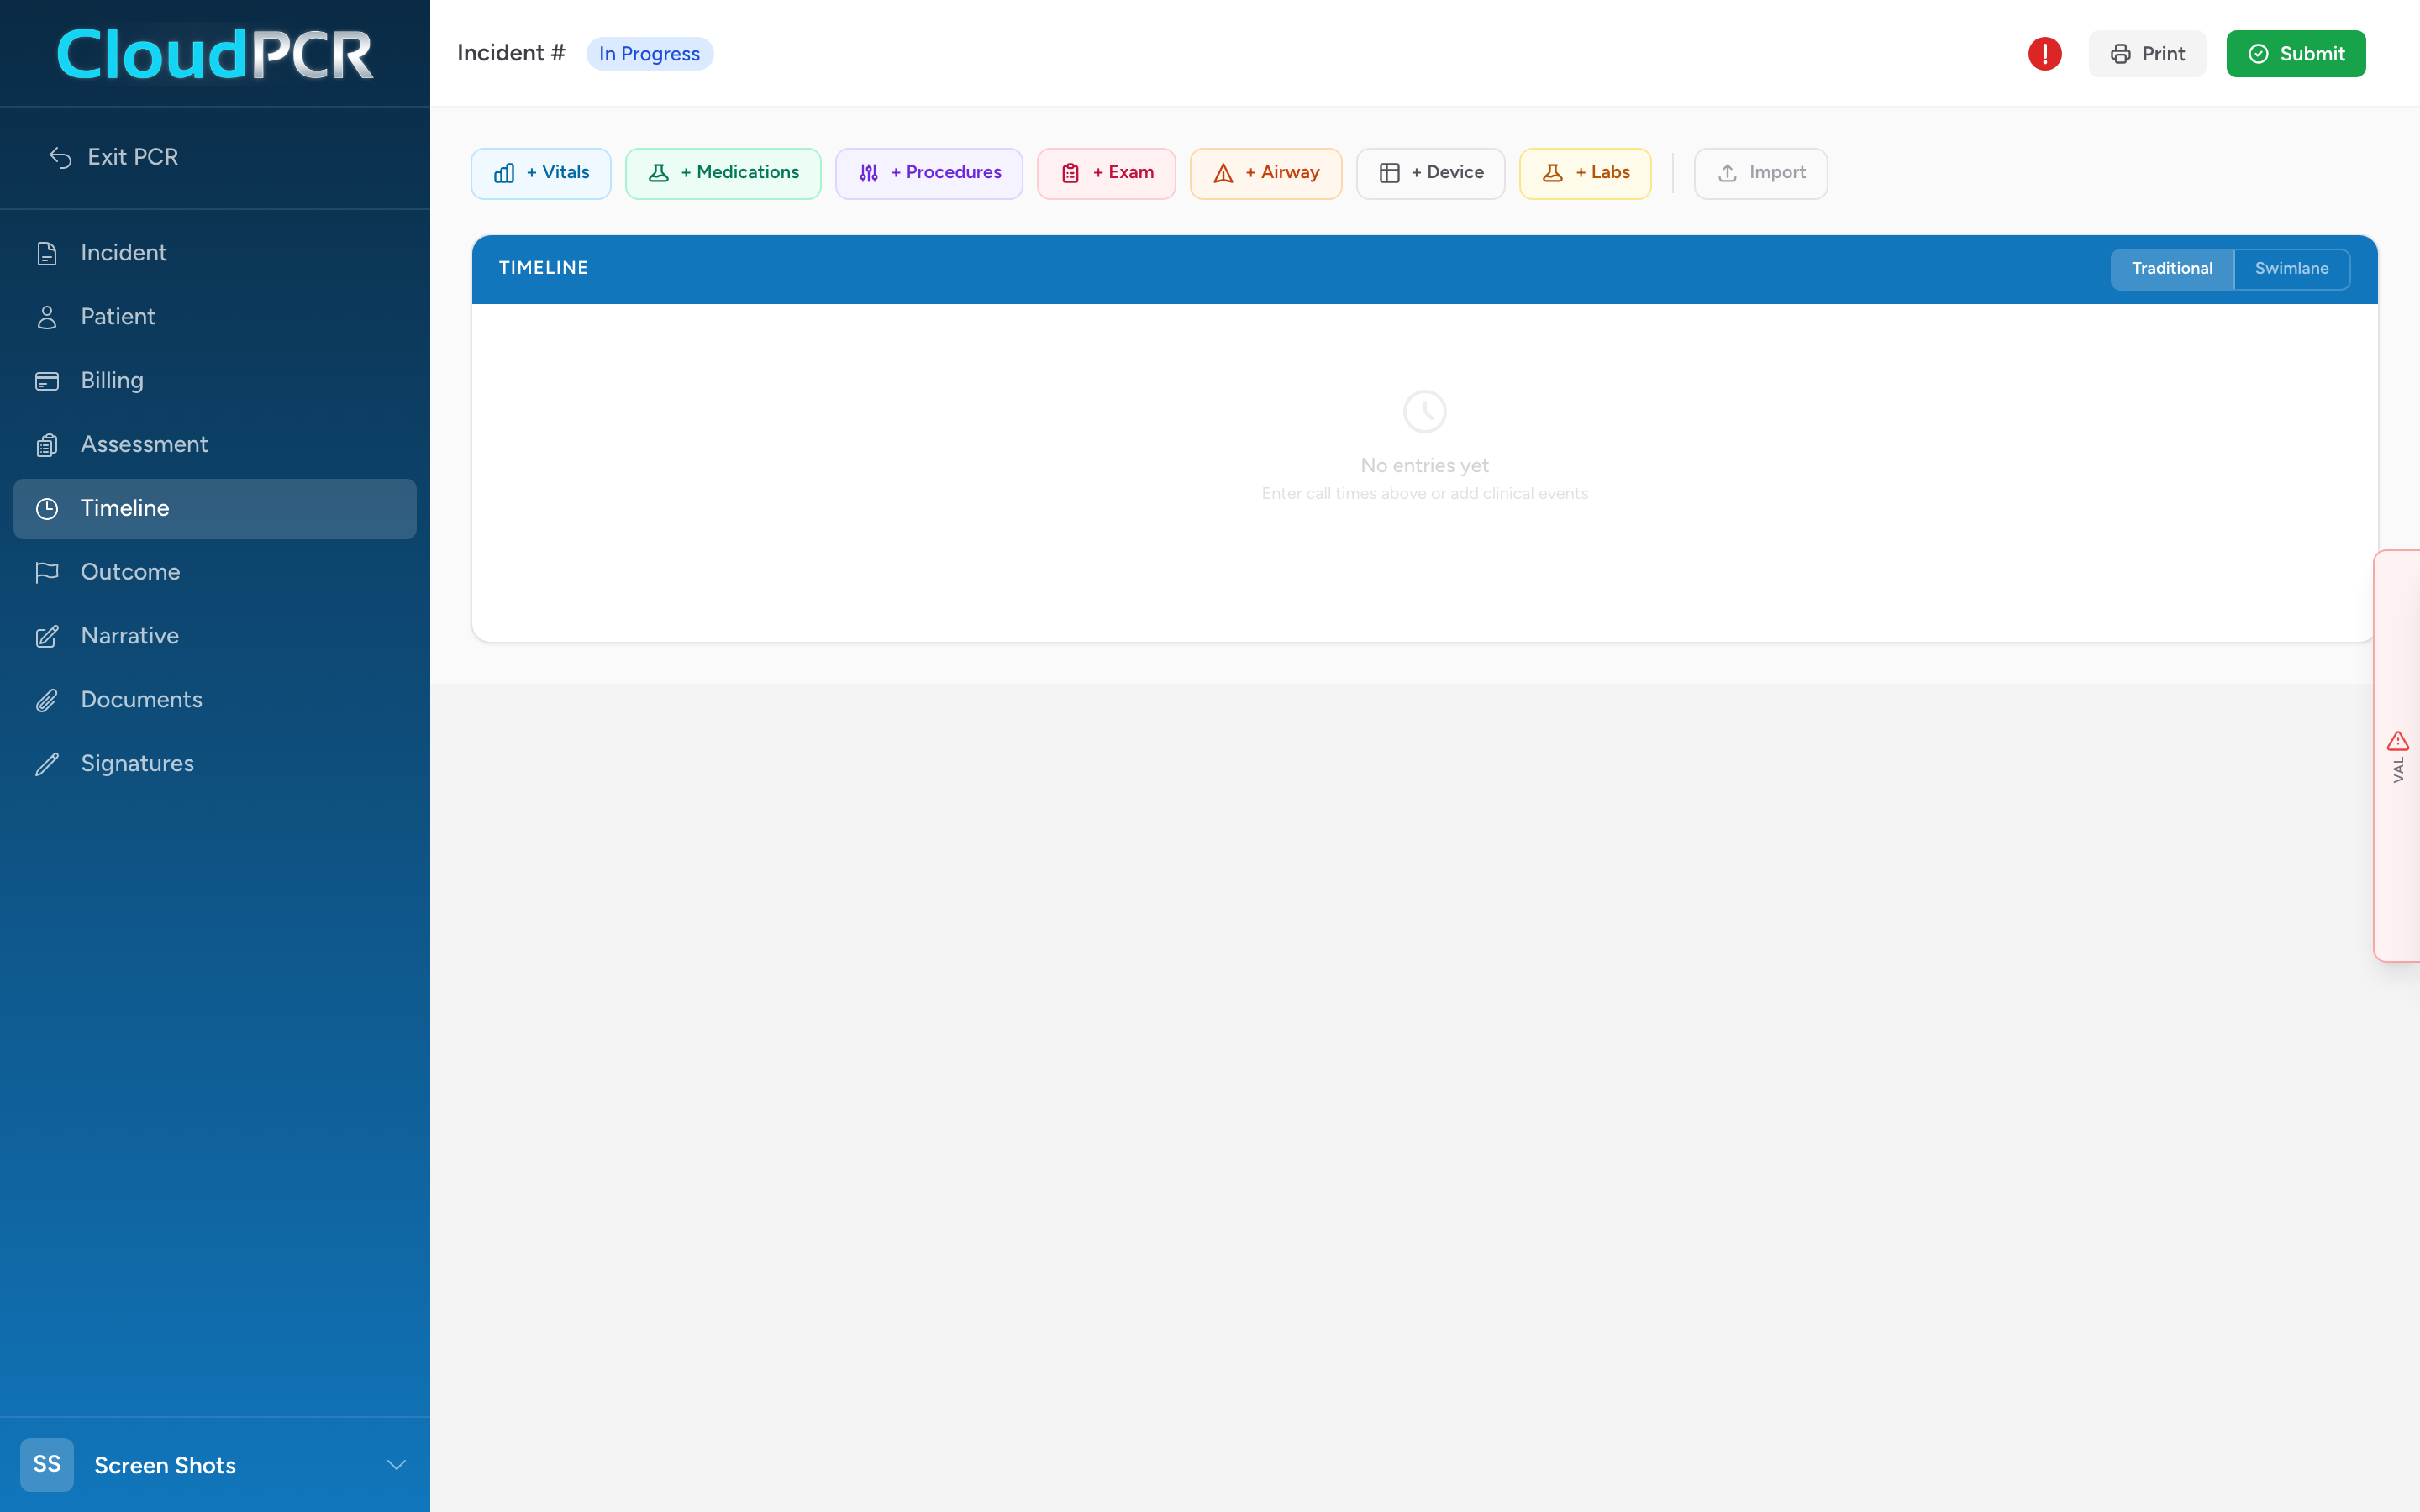
- Open the PCR on the Timeline tab.
- Click Import in the Timeline toolbar.
- The Cardiac Monitor Imports modal opens, showing transmissions that match this PCR's vehicle and call time window.
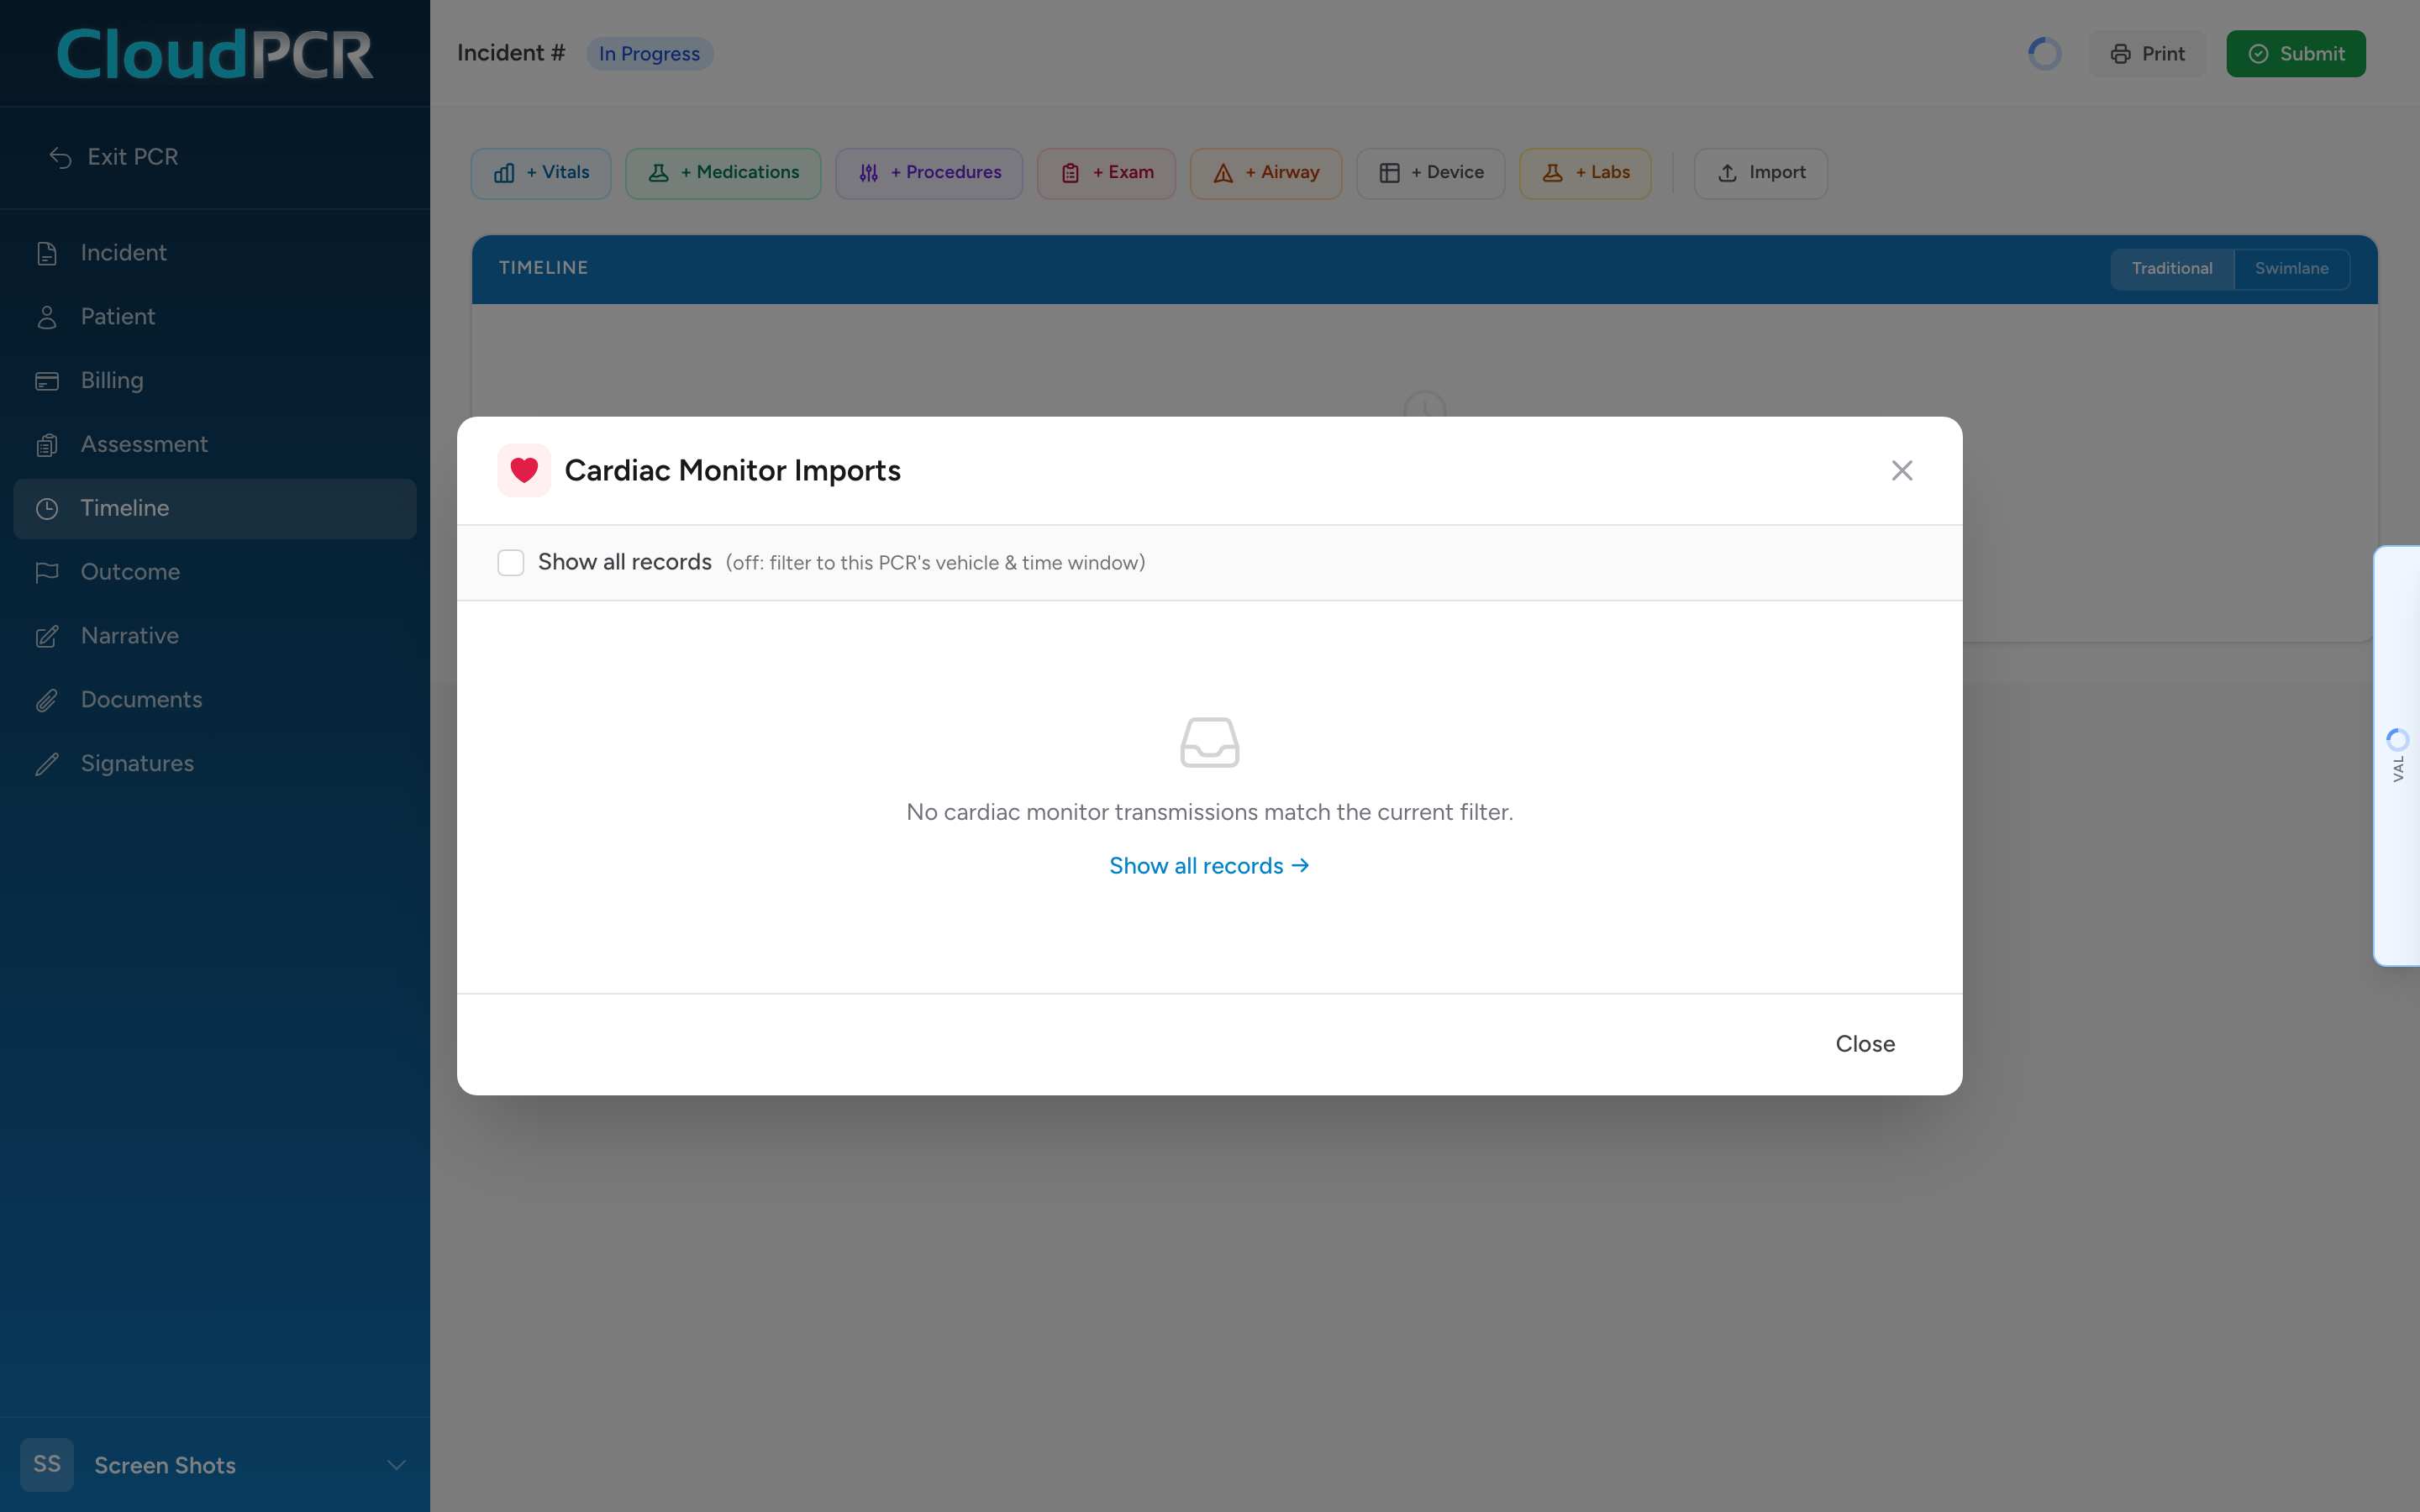
If the list is empty, check Show all records to widen the search to every transmission your agency has received. Empty with that checked usually means the monitor has not uploaded its data yet — ask the crew to dock it at the station.
Reviewing a transmission
Each card in the list shows the monitor, the time the transmission was made, and counts for the four types of data inside it:
- Vitals — HR, SpO₂, SpCO, RR, BP, EtCO₂, temperature.
- Procedures — 12-lead acquisition times and similar markers.
- Device Events — defibrillation shocks, pacing, cardioversion.
- Reports & Images — the PDF/image reports the monitor generated (12-lead strips, summary reports).
Click a transmission to open its detail view and see exactly what is inside.
Picking what to import
On the detail view, every piece of data has a checkbox. Check the items you want to pull onto this PCR. Click Select all at the top to grab everything.
For any report or image, click Preview to open it in the viewer before you decide to attach it.
Finish the import
- Click Import (N) at the bottom of the modal, where N is the count of items you selected.
- The modal closes. Imported items now appear on the Timeline in their usual lanes — vitals in the vitals lane, procedures in the procedures lane, device events in the devices lane.
- Reports and images are attached to the PCR's Documents.
If you need to start over
Once data from a transmission is attached, the Timeline's Import button changes to Detach Monitor Record. Click it to remove everything you imported. You can re-open the modal and re-import afterward if you need to pick a different subset.
An example
You work a cardiac arrest on Medic 7. The LIFEPAK 15 captures continuous vitals, five 12-lead acquisitions, four defibrillation shocks, and prints a code summary report at the end. At the station after the call, you dock the monitor to LIFENET. On the PCR, you click Import, pick the transmission from Medic 7 (only one in the list because of the time filter), click Select all, and hit Import. Every vital, every shock, and every 12-lead lands on the Timeline. The code summary PDF is attached to Documents. You did not retype a single number.
Tip: Only data from the transmission you pick is imported. If a monitor uploaded twice during the call (for example, dock-and-go at the scene and a second upload after transport), each transmission is its own record in the list — import the most complete one.