
Opening the claims list
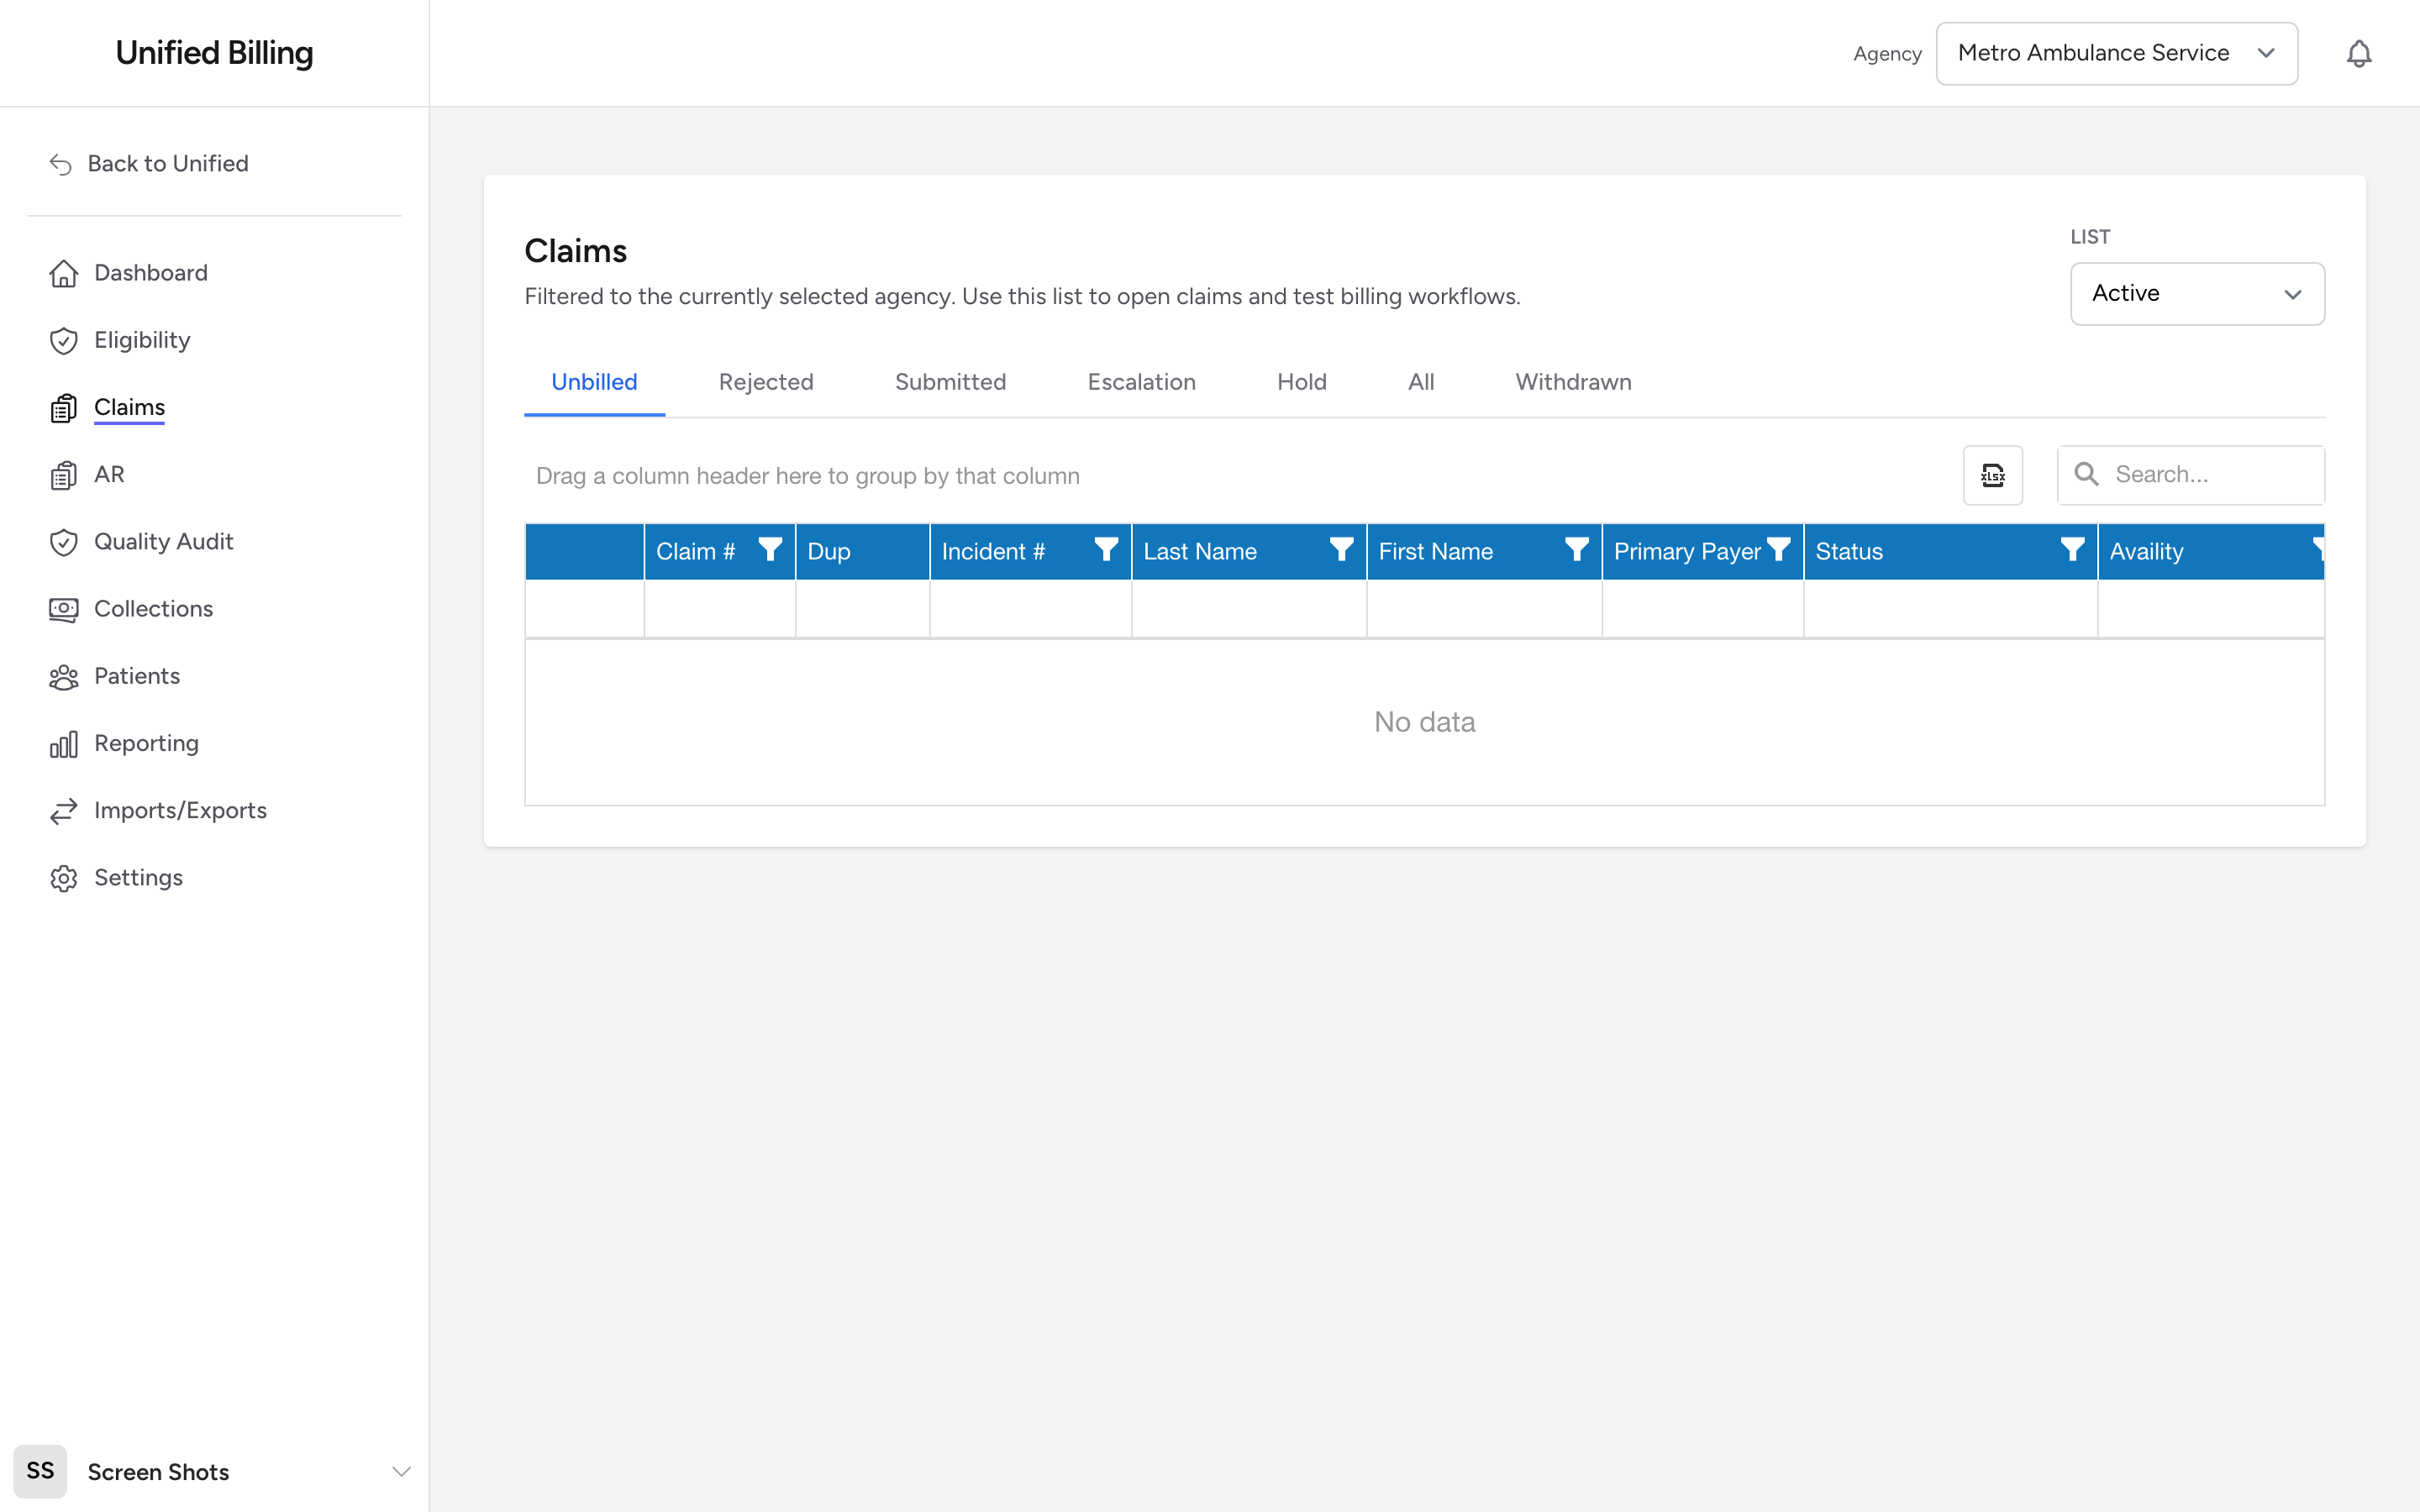
Click Claims in the menu to open the claims list. This is where you manage all your insurance claims, from the moment they arrive to the moment they go out the door.
The status tabs
Tabs above the grid split the list by where each claim stands: Unbilled, Rejected, Submitted, Escalation, Hold, All, and Withdrawn.
- Unbilled is your working queue. It holds new claims, claims that need review, and claims the agency has corrected and sent back.
- Rejected shows claims your clearinghouse reported as rejected. A red count appears on the tab so rejections are hard to miss, and it refreshes on its own while the page is open.
- Submitted shows claims you have submitted for transmission.
- Escalation and Hold show claims parked in those statuses.
- All shows everything except withdrawn claims, which have their own Withdrawn tab.
Start your day on Unbilled, then check Rejected. See Claim statuses for what each status means.
The List dropdown
Use the List dropdown at the top of the page to switch between three views:
- Active - all current claims. This is where you spend most of your time.
- Deletion Queue - claims you have marked for deletion. Nothing has been removed yet. Restore a claim from here if it was marked by mistake, or delete it again to move it to the Deleted list.
- Deleted - claims that have been deleted. You can still restore one from here if you need it back.
Deleting is a two-step process on purpose. The first Delete moves the claim to the Deletion Queue; a second Delete from that queue removes it. Submitted claims cannot be deleted.
Searching, filtering, and sorting
The claims grid supports column filtering and sorting. Click any column header to sort; click again to reverse. Use the filter row in each column header to narrow the list, for example by claim status, payer, or date.
The Availity column
The column labeled Availity shows how your clearinghouse responded to each transmitted claim. A blank cell is normal for a claim that just went out; the response usually arrives within hours to a couple of days. A green badge means the claim was accepted, and a red badge means the clearinghouse rejected it. Click the badge to see the details. See Clearinghouse responses on the claims list for a full walkthrough.
Bulk actions
Select claims with the checkboxes on the left and a blue action bar appears above the grid. Delete Selected is available in the Active and Deletion Queue views, Restore Selected in the Deletion Queue and Deleted views, and Re-Transmit Selected on the Submitted tab. Clear Selection deselects everything.
Sending claims out
The green Transmit button bundles your submitted claims into files: an electronic claim file for your clearinghouse, CMS-1500 PDFs for paper payers, and patient statements for self-pay. You download each file from the Transmit Results window and send it on. See Transmitting claims and CMS-1500 paper claims. This works the same whether your clearinghouse is connected directly or you upload the file to its portal yourself.
Exporting the list to Excel
Click the export button above the list to download what you are looking at as a spreadsheet. The file is named claims.
The export follows the list you have on screen: the status tab you are on, the list you picked, and the order you sorted it into. It contains every matching claim, not just the page you can see, so a worklist of several thousand comes out whole.
Tip: narrow the list before you export. Filtering to the tab and list you actually need gives you a spreadsheet you can work from, rather than one you have to filter again.
Opening a claim
Click any row to open that claim. From there you can edit any section, run validation, and submit the claim. See The claim form.