
Where to look
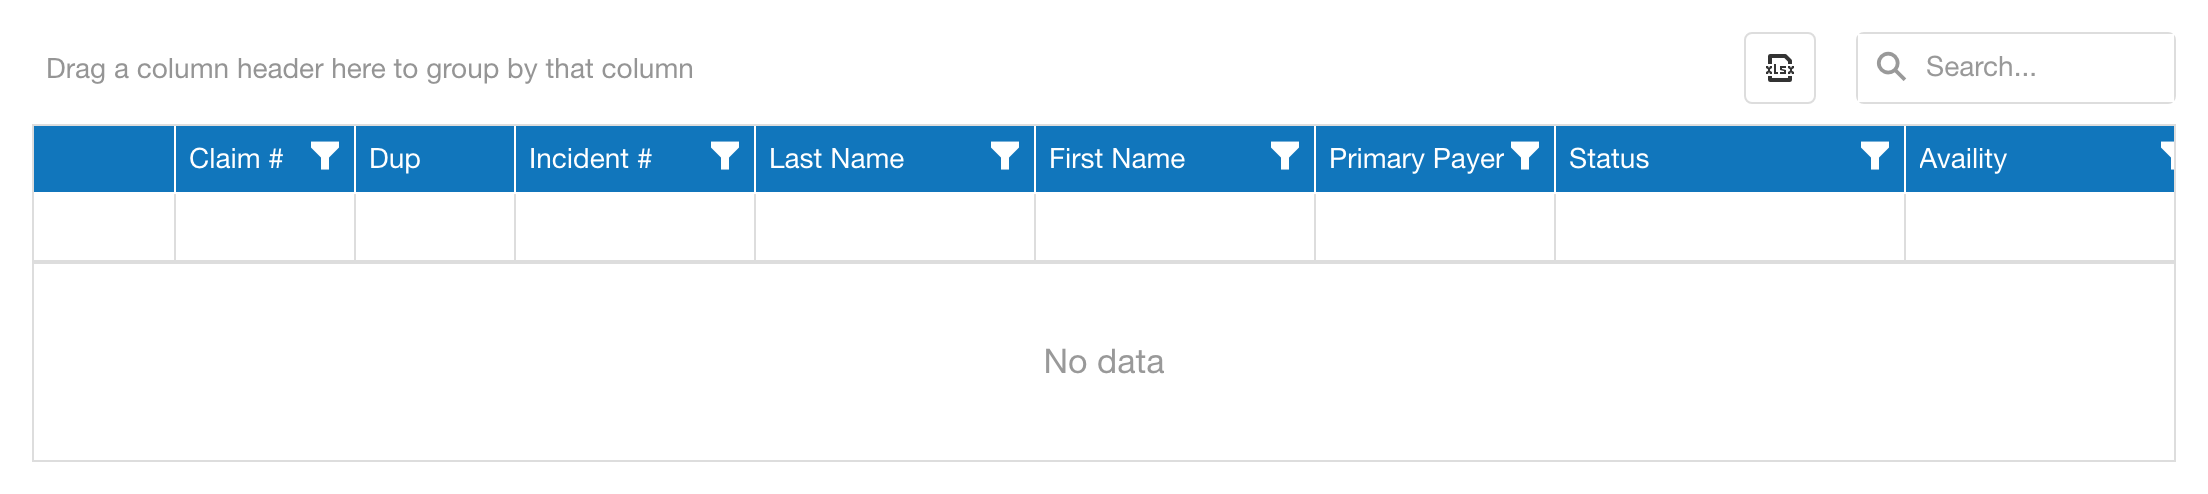
From the menu, click Claims. The grid column labeled Availity shows your clearinghouse's answer for each transmitted claim: whether it accepted the claim, forwarded it to the payer, or rejected it. Click the badge in that column to open the status detail window.
The timeline of a claim
After you transmit, the response arrives in stages:
- File sent. Your claim file goes to the clearinghouse, either directly or by you uploading it to the clearinghouse portal. See Transmitting claims.
- Acknowledgement. The clearinghouse confirms it received the file. If the whole file was refused, the claims in it show Upload Failed.
- Per-claim status. Usually on an overnight cycle, the clearinghouse reports an accept or reject for each individual claim.
- Payment. The payer's remittance arrives days or weeks later. See Importing remittance files or Posting manual payments.
A blank cell is normal for a claim that just went out. The per-claim answer typically shows up within hours to a couple of days.
What each status means
- Forwarded to Payer - the clearinghouse accepted the claim and passed it to the payer. No action needed.
- Accepted - the claim was accepted into the payer's processing. No action needed yet.
- Pending - the claim is in process at the payer. A final decision is coming.
- Finalized - the payer has made a decision. Check the remittance for payment or denial details.
- Rejected - the clearinghouse or payer refused the claim before processing it. It will not be paid until you fix the problem and resubmit.
- Upload Failed - the clearinghouse could not accept the claim file, so it never reached the payer. Fix the reason shown and send it again.
Rejected and failed claims also collect on the Rejected tab of the claims list, with a red count on the tab.
The status detail window
Click any badge in the column to open the Availity Status window, the clearinghouse response detail for that claim. It shows the status, when it was reported, a plain explanation, and for rejections a Why it was rejected section with the exact reason, the status code(s), and the payer claim number when one was assigned.
Working a rejection
Say a claim comes back Rejected because the subscriber ID did not match. Open the detail window and read the reason, then pick the path that fits:
- Correct & Resubmit - opens the claim so you can fix the problem, then transmit again. The claim goes back out as an original, and the rejection clears when you transmit.
- Resubmit as Corrected - appears when the payer called the claim a duplicate. It opens the claim staged as a replacement with the Original Claim ICN pre-filled. Verify that number against the remittance before you transmit.
- Mark Accepted in Availity - use this only when you already fixed and resubmitted the claim inside the clearinghouse portal itself and it was accepted there. Type what you fixed in the required note and click Confirm Accepted. This clears the rejection here without sending another claim, so it cannot create a duplicate.
Open Claim simply takes you to the claim without staging anything.
Tips
- Check the Rejected tab daily. A rejected claim is not in anyone's queue but yours.
- A rejection is not a denial. Rejected claims never reached the payer's books, so fixing and resubmitting is routine, not an appeal.