
Once a claim's form is complete and validation is clean, submitting it is the step that locks it and sends it on its way. This article covers the Submit button, what it changes, and what happens next.
Before you start: The claim should be filled out and pass validation. A claim with open validation issues cannot be submitted; see Claim validation.
The Submission panel
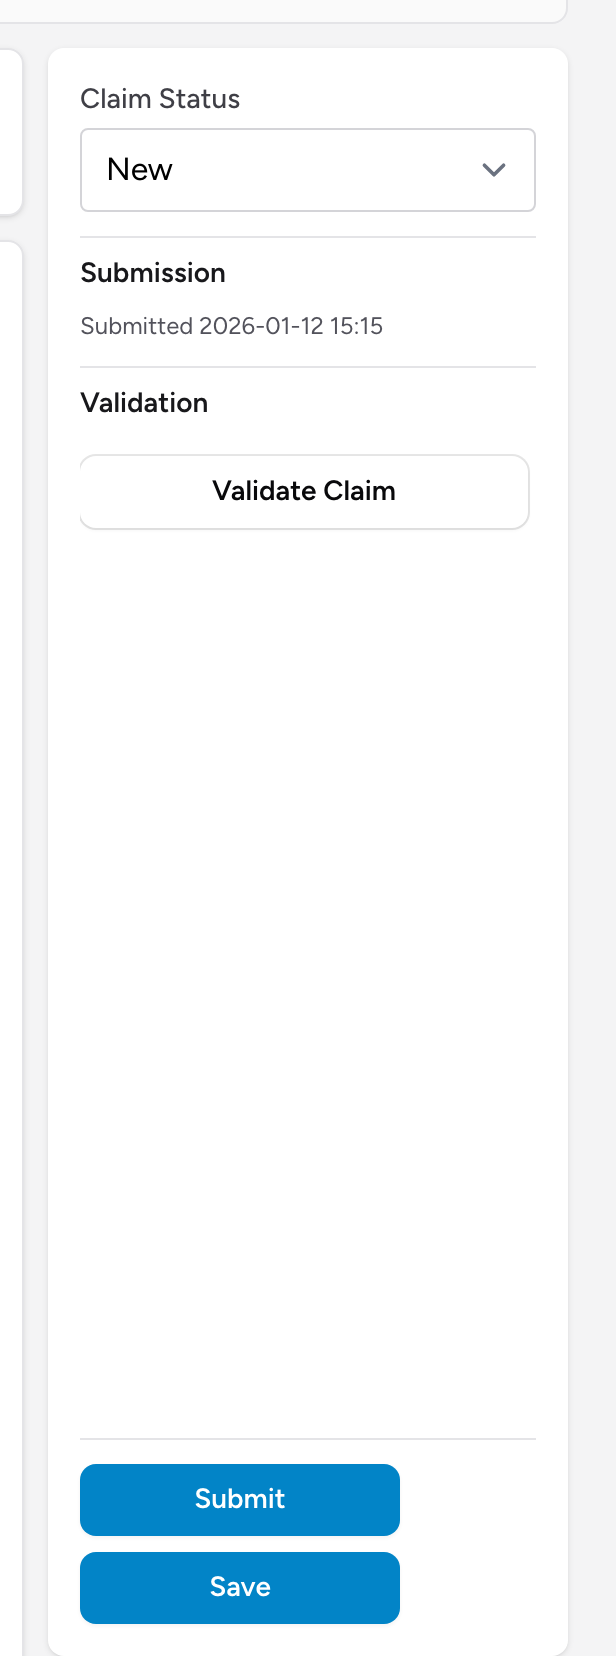
The right-hand panel of every open claim has a Submission section. Before you submit, it reads "Not submitted yet." After you submit, it shows when the claim was submitted and who locked it. The Submit button sits at the bottom of the same panel, next to Save.
How to submit a claim
- From the menu, click Claims.
- Click the claim's row to open it.
- Click Submit at the bottom of the right-hand panel.
- Billing saves the form, then runs the full validation check. If anything is still wrong, the claim is not submitted; the panel lists the issues so you can fix them and try again.
- When the checks pass, the claim's status changes to Submitted, the claim locks so no one edits it mid-flight, and it joins the queue of claims waiting to go out for its agency.
You cannot pick Submitted from the Claim Status dropdown by hand. The Submit button is the only way, because it is what guarantees every claim was validated before it went out.
What happens next
Where the queued claim goes depends on how your agency sends claims:
- Connected to your clearinghouse - the queued batch is delivered to your clearinghouse for you, and their acknowledgements flow back onto the claim as they arrive.
- Sending by hand - the queued claims wait until you download them. Use the Transmit workflow on the Claims page to download the claim file for your clearinghouse and a combined PDF for paper payers; see The EDI Exports page and CMS-1500 paper claims.
- Self-pay - if the claim's payer is marked self-pay, nothing goes to a clearinghouse. Submitting bills the patient directly instead; see Patient statements.
Unlocking a submitted claim
If you spot a mistake after submitting, click Unlock Claim in the Submission panel. What unlocking does depends on timing:
- The claim has not gone out yet - it is pulled back out of the outgoing queue and its status changes to Needs Review, so you can rework it and submit again.
- The claim already went out - unlocking only releases the edit lock. The claim stays Submitted, because the payer already has it. Fix what you need to, then resubmit as a corrected claim.
Click View status log in the Submission panel to see the full history of who locked, unlocked, or resubmitted the claim, with dates and times.
Example
You finish coding a transport for Grace Delgado, validate it, and see the green All validations passed message. You click Submit. The status changes to Submitted, the form grays out, and the Submission panel shows the date, time, and your name. That afternoon you notice the wrong pickup address. The claim has not been transmitted yet, so you click Unlock Claim, the status moves to Needs Review, you fix the address, and you submit again.
Tips
- Validate before you submit. Submit runs the same checks, but working the issues from the Validation panel first is faster than bouncing off the Submit button.
- Submit claims as you finish them rather than saving them up. The queue can go out as often as you like, and a claim that is not submitted is a claim that is not getting paid.