
What this page shows
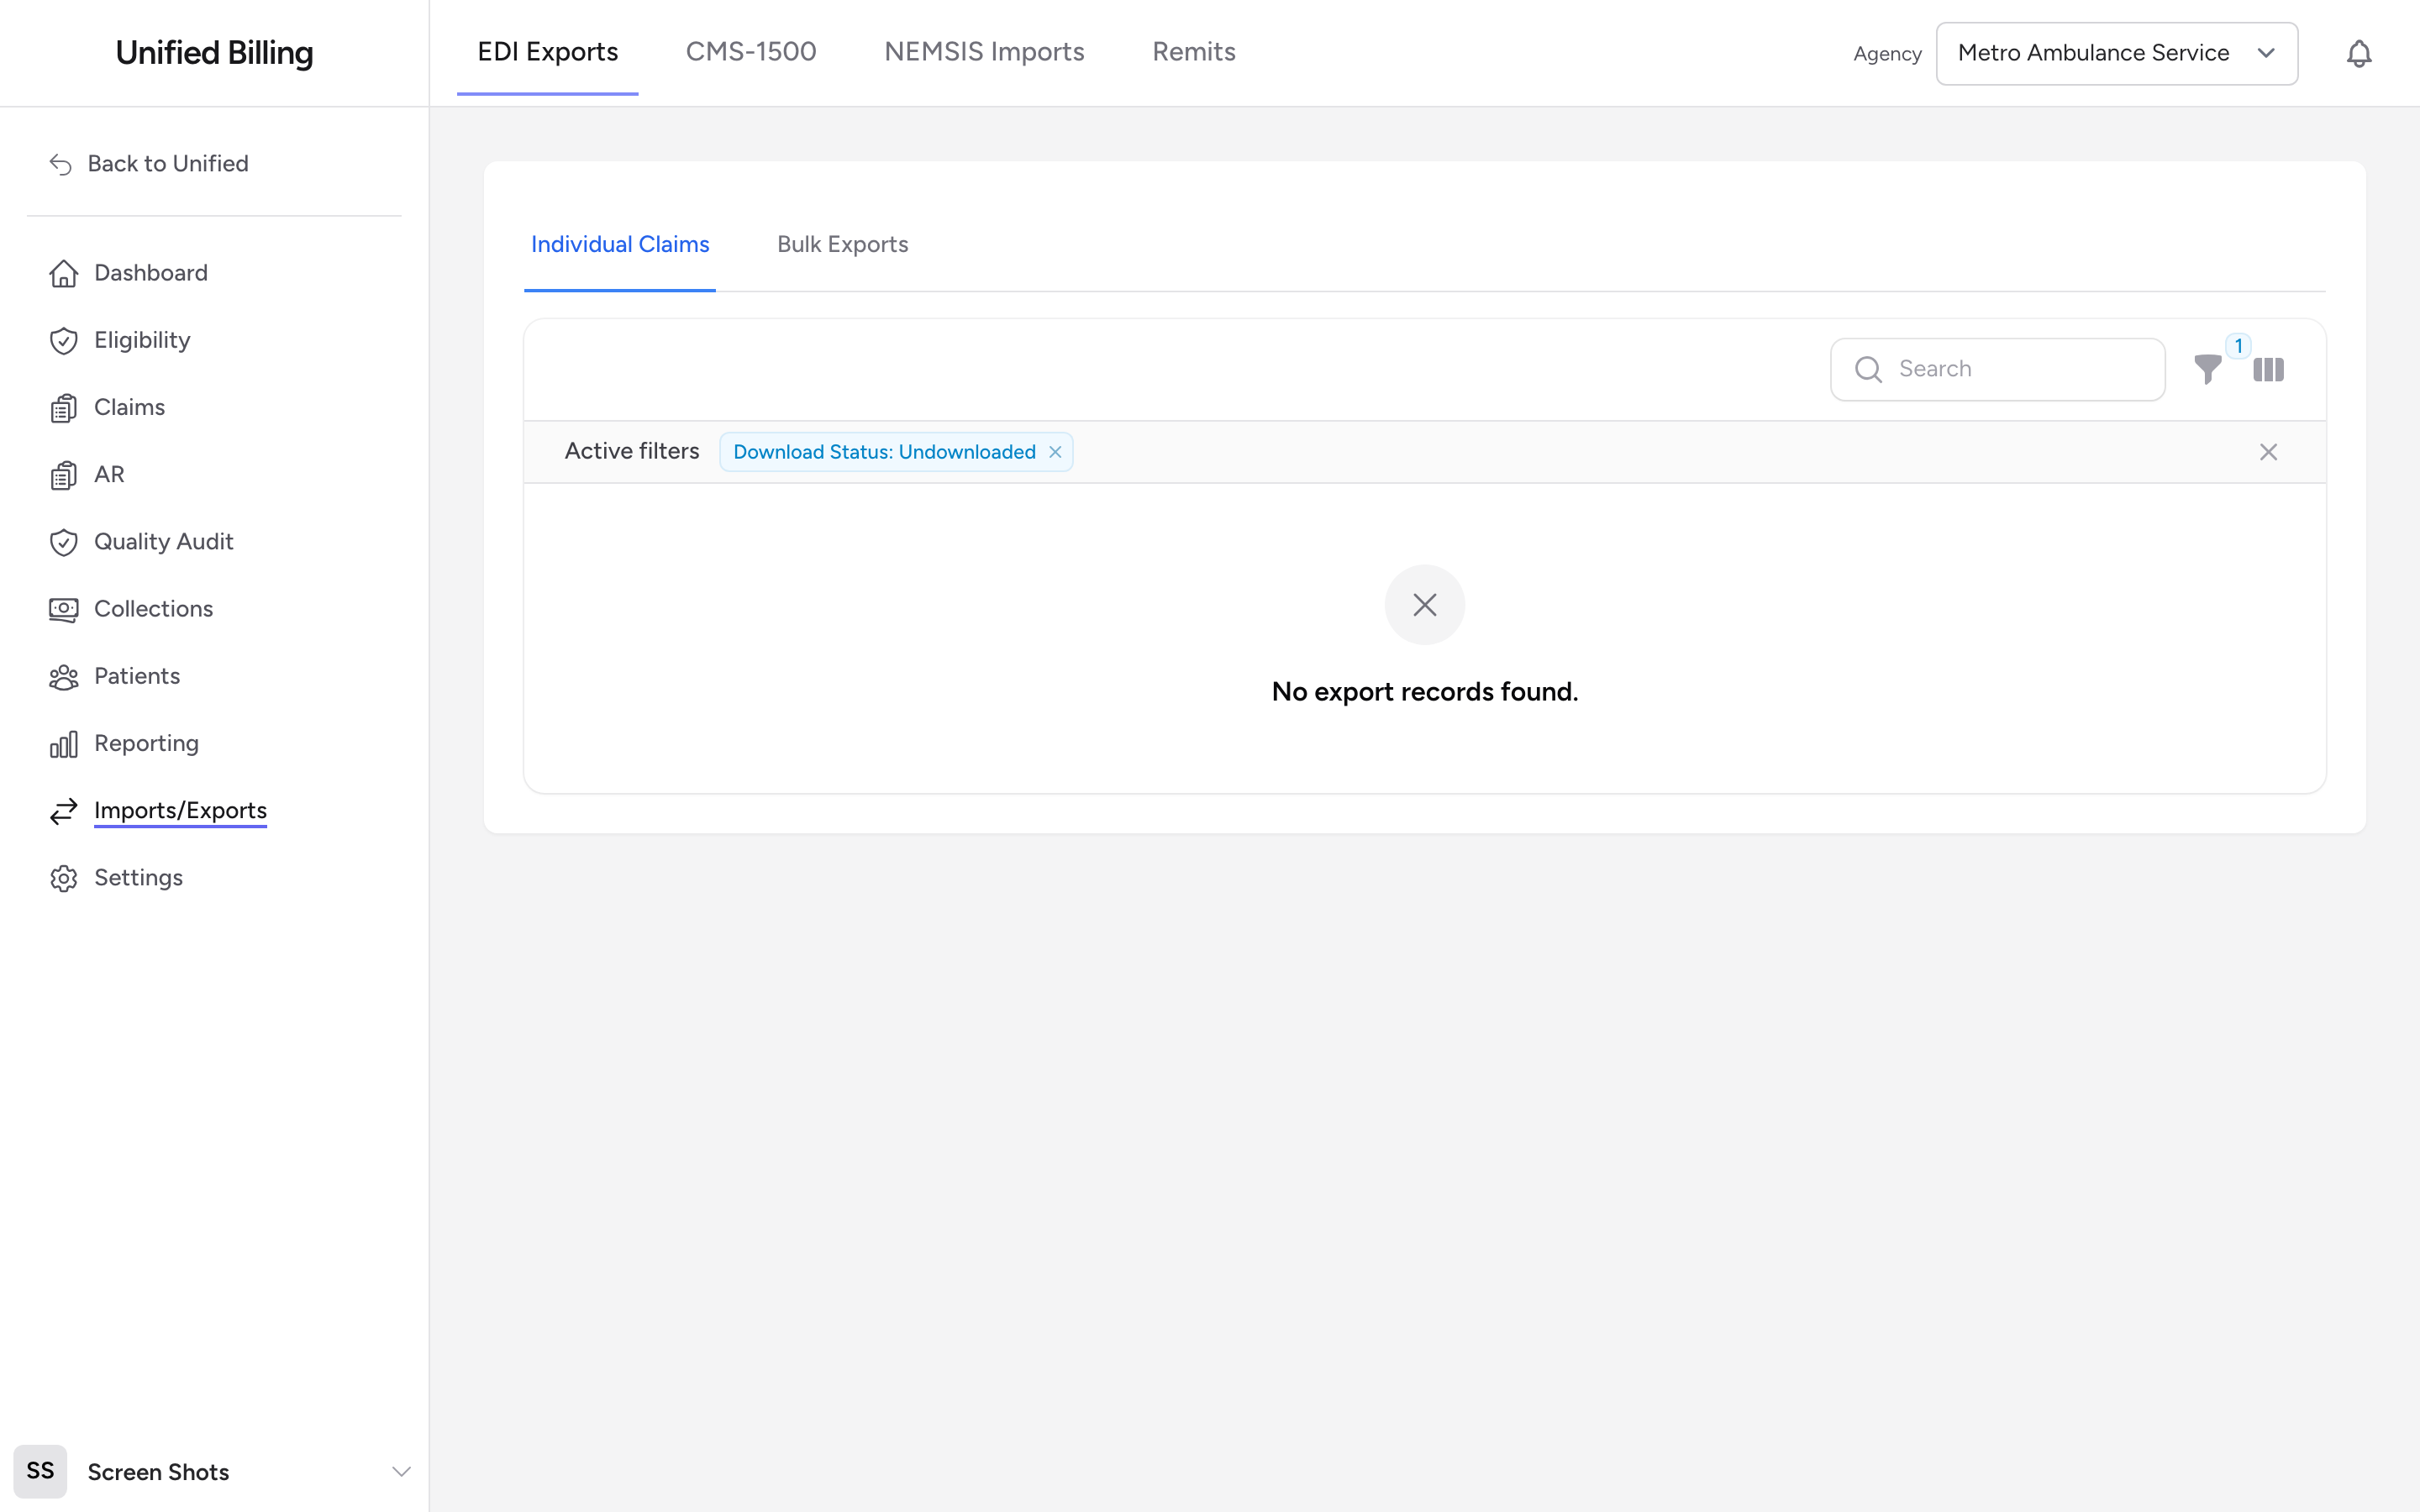
The EDI Exports page is where you track every 837 that Billing has generated or queued from your submitted claims. To open it, click Imports/Exports in the menu, then click EDI Exports. The page has two tabs: Individual Claims and Bulk Exports.
The Individual Claims tab
Each row is a submitted claim with an export record. The columns show the claim number, incident number, agency, patient, submission number, and when it was submitted, plus three columns worth understanding:
- Status: Queued means the claim is waiting for the next transmit or download; Downloaded means its file has been pulled. A Queued row marked "Previously downloaded" was re-queued for another send.
- Last Download: the date and time the claim's file was last downloaded.
- The column labeled Availity MFT: the clearinghouse file-transfer status. It shows whether Billing's direct file connection has delivered the claim's batch to your clearinghouse: Sent, Pending, Failed, Duplicate, or Not sent. If your agency has no file connection, every row stays Not sent. That is normal; you use Download 837 and upload the file yourself instead.
Each row has three actions:
- 837: opens a preview of the claim's 837 in a new browser tab so you can read exactly what will be sent.
- Download 837: saves the claim's 837 file to your computer.
- Compare: opens the Compare 837 Claim page, where you can check Billing's 837 against one from another billing system (see Uploading external 837 files).
Two filters sit above the table. Agency narrows the list to one agency. Download Status shows Undownloaded claims by default; switch it to Downloaded or All to see everything.
The Bulk Exports tab
This tab lists whole batches instead of single claims. Each row shows the batch number, agency, claim count, status (Queued or Exported), who created it, and when it was created and exported. Click Download 837 to pull the batch's file again, or View Claims to see which claims it contains.
Sending claims without a file connection
If your agency does not have a direct connection to your clearinghouse, this page is the middle of your weekly loop:
- Click Transmit on the Claims page to build the batch (see Transmitting claims), or tick claims here and click Download Combined 837 to build one file from your selection.
- Sign in to your clearinghouse web portal and upload the 837 file there.
- Watch the portal for acceptance or rejection results. When payments arrive, download the 835 remittance file from the portal and post it in Billing (see Importing remittance files).
Re-sending claims
To send a claim again, tick its checkbox on the Individual Claims tab and click Re-Transmit Selected. A confirmation explains that the selected claims will be re-queued for the next transmit; their status resets to Queued. They are included the next time you click Transmit on the Claims page or download a combined 837 here.
Example
A payer tells you they never received claim #4821. You open EDI Exports, set the Download Status filter to All, and find the claim: its status is Downloaded and Last Download shows two weeks ago, so the file was pulled but the claim may not have made it to the payer. You tick the claim, click Re-Transmit Selected, then click Download Combined 837 and upload the fresh file to your clearinghouse portal.
Tips
- The Download Status filter starts on Undownloaded, so claims disappear from the list once you download them. Switch to All when you are looking for something you already sent.
- The Availity MFT column only tells you the file reached the clearinghouse. Whether each claim was accepted or rejected is a separate response that shows up on the Claims page hours to days later, or in your clearinghouse portal.
- Use the 837 preview before re-sending a problem claim. Reading the file often shows the missing or wrong field faster than waiting for another rejection.