
The QA PCRs page is where reviewers go to find patient care reports that need a quality review. If your role includes quality review, this is your work queue.
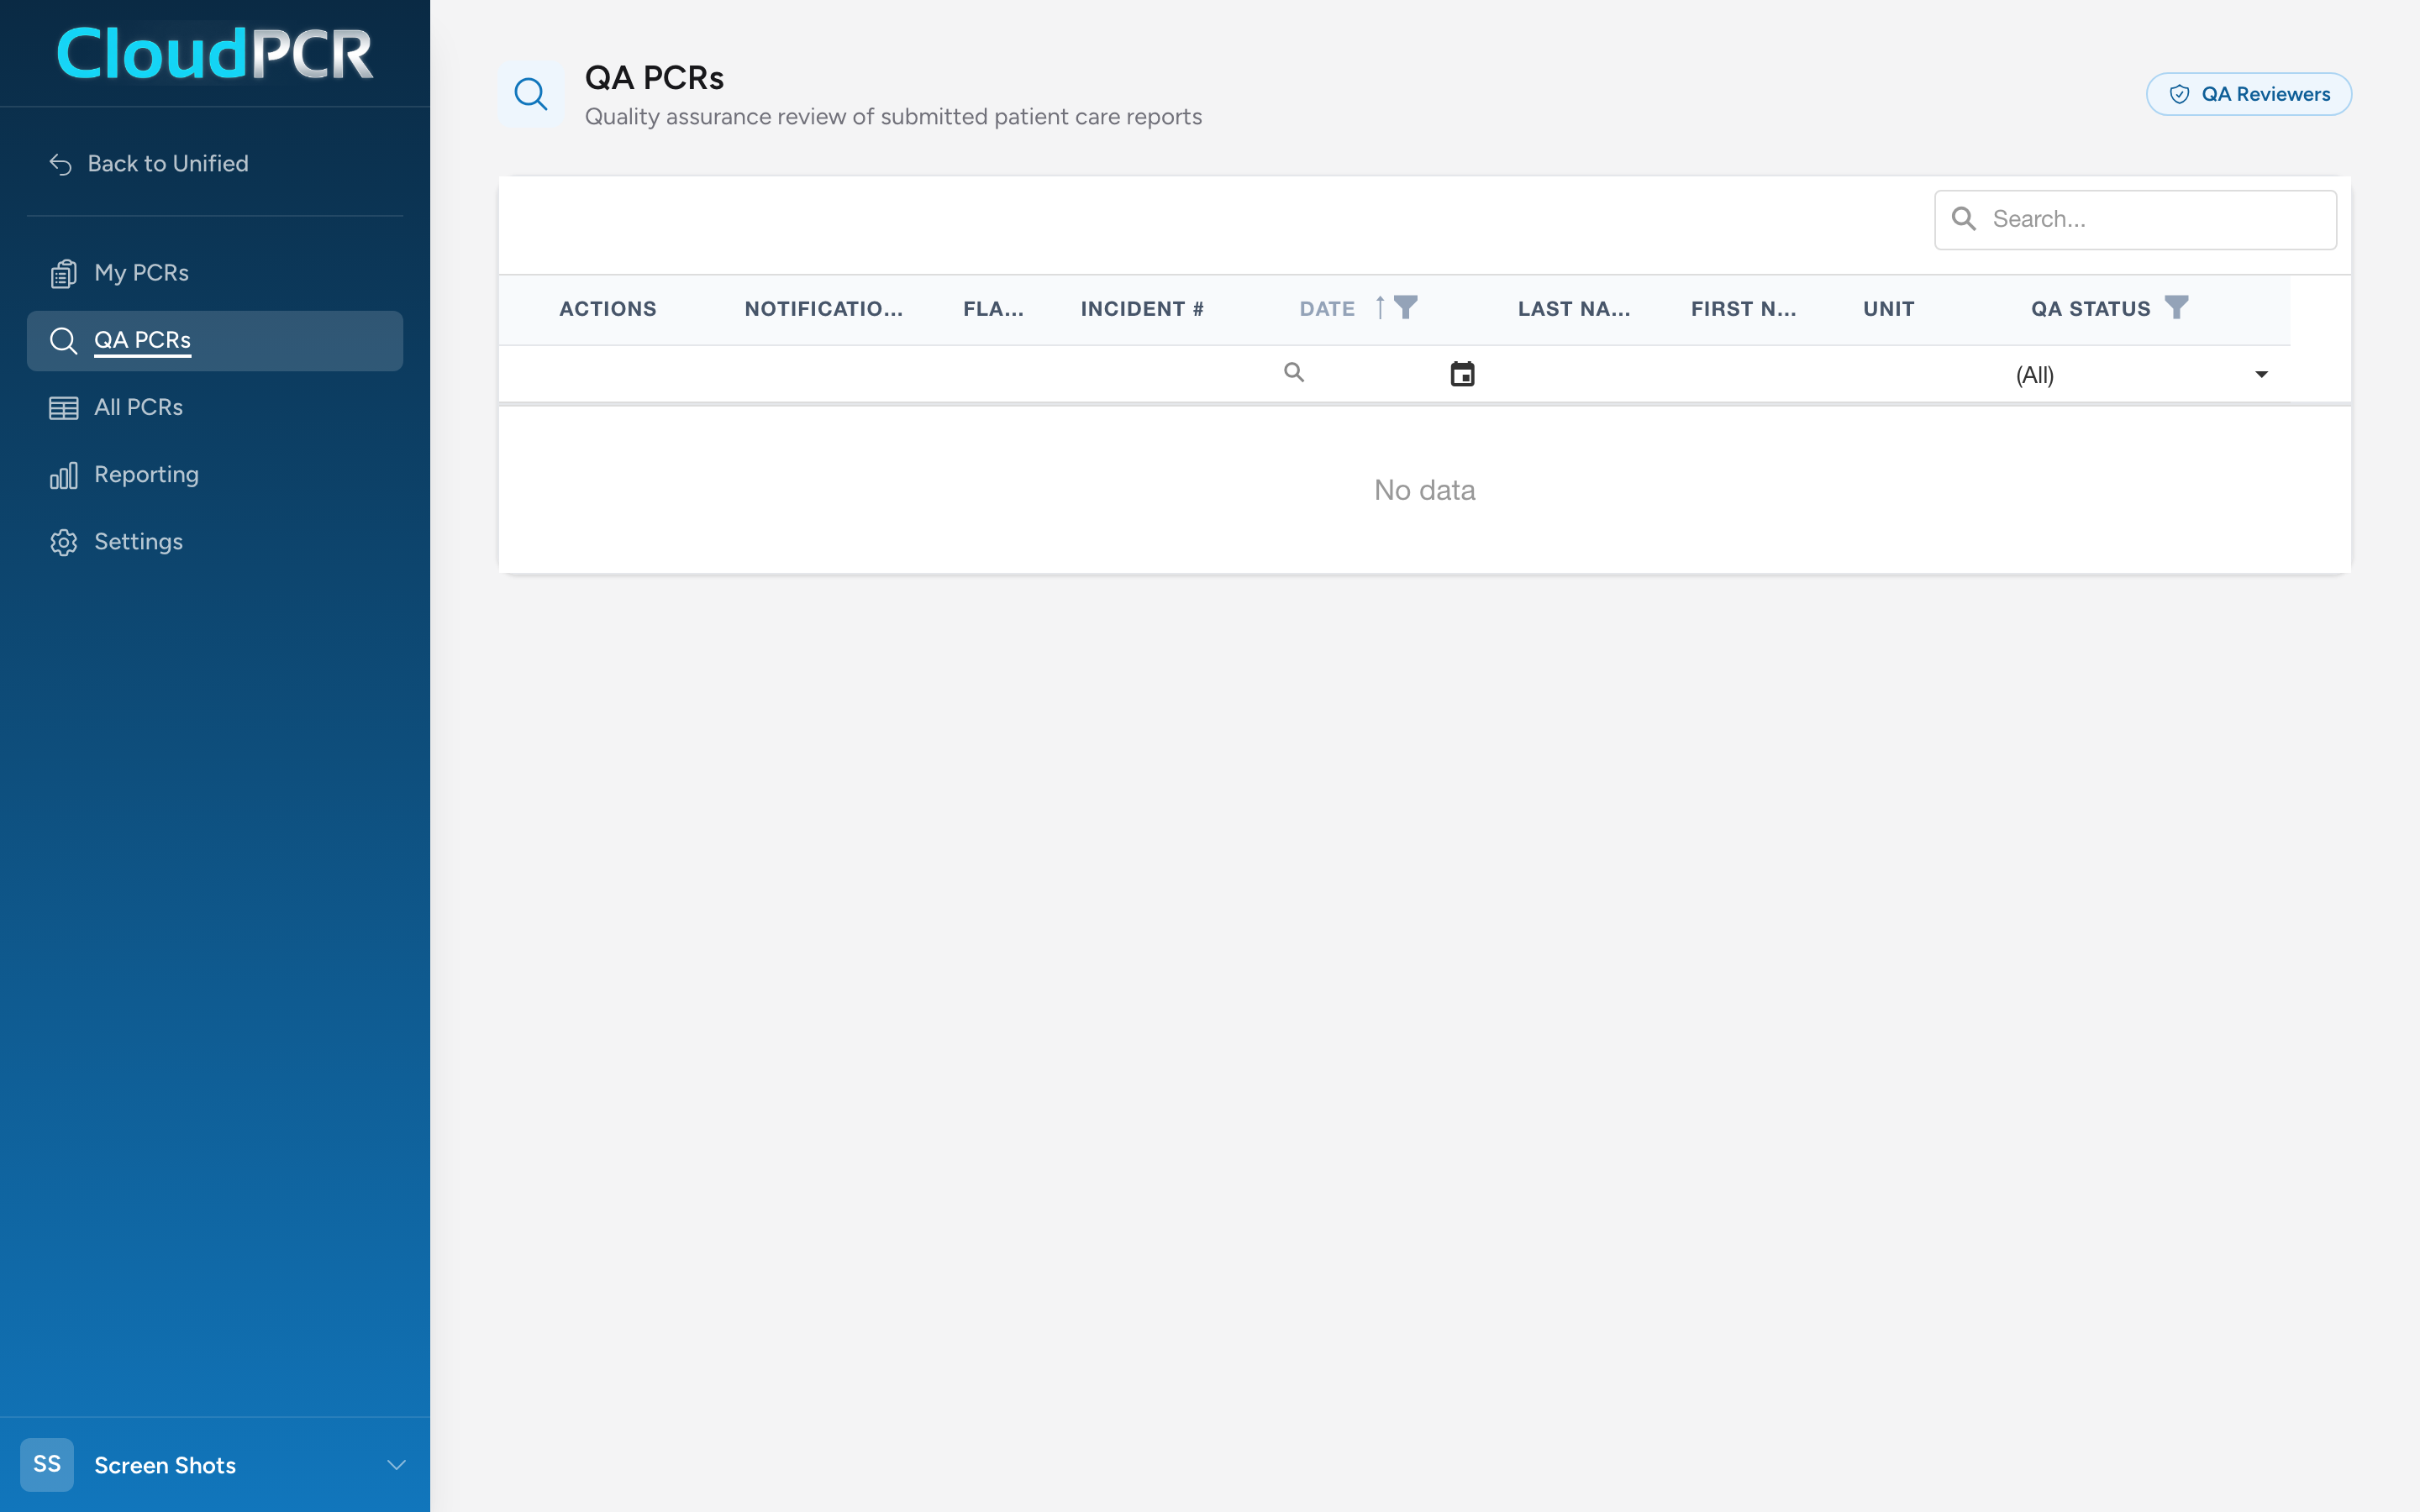
Open the queue
- From the navigation, click QA PCRs.
If you do not see this option, your role does not include quality review. Ask a supervisor.
What each column shows
- Actions — a menu with View (opens the read-only PCR) and QA Review (opens the reviewer screen).
- Notifications — badges for open QA flags, internal notes, attachments, and addenda on the PCR. Click the flags badge to jump to the flags page; click the attachments icon to open the attachments modal.
- Flags — count of clinical flags raised automatically (e.g. abnormal vitals or missing required fields).
- Incident # — the incident number. Click to open the PCR.
- Date — the call date.
- Last Name and First Name — the patient's name, as two separate sortable columns.
- Unit — the responding unit.
- Created By — the crew member who wrote the PCR.
- QA Group — which QA group the PCR was routed into (based on your agency's QA rules).
- QA Status — the four stages the review process runs on (Pending Review, In Review, Needs Changes, Approved), plus any stages your agency has added of its own. The column is an inline dropdown; change it right on the row.
What you can do here
- Open a PCR for full review — see Reviewing a PCR.
- Change the QA status directly from the row — for example, move a PCR from In Review to Approved.
- Set up the columns the way you want them and have that setup waiting for you next time. See Choosing the columns on your PCR lists.
If your agency follows review stages the four built-in ones do not cover, an administrator can add them. See Adding your own QA statuses.