

Form Configuration is where your agency shapes the PCR form itself: hide the fields, sections, and pages your crews never use, mark the ones that matter as required, and pre-fill fields with defaults per call type. Your state's NEMSIS form is already loaded — this page is how you trim and tune it so crews only see what your agency actually documents.
Before you start: Settings is admin-only. Changes here affect every crew member's PCR form, so try them on a test chart after you make them.
Open Form Configuration
- From the menu, click Settings.
- Click Form Configuration.
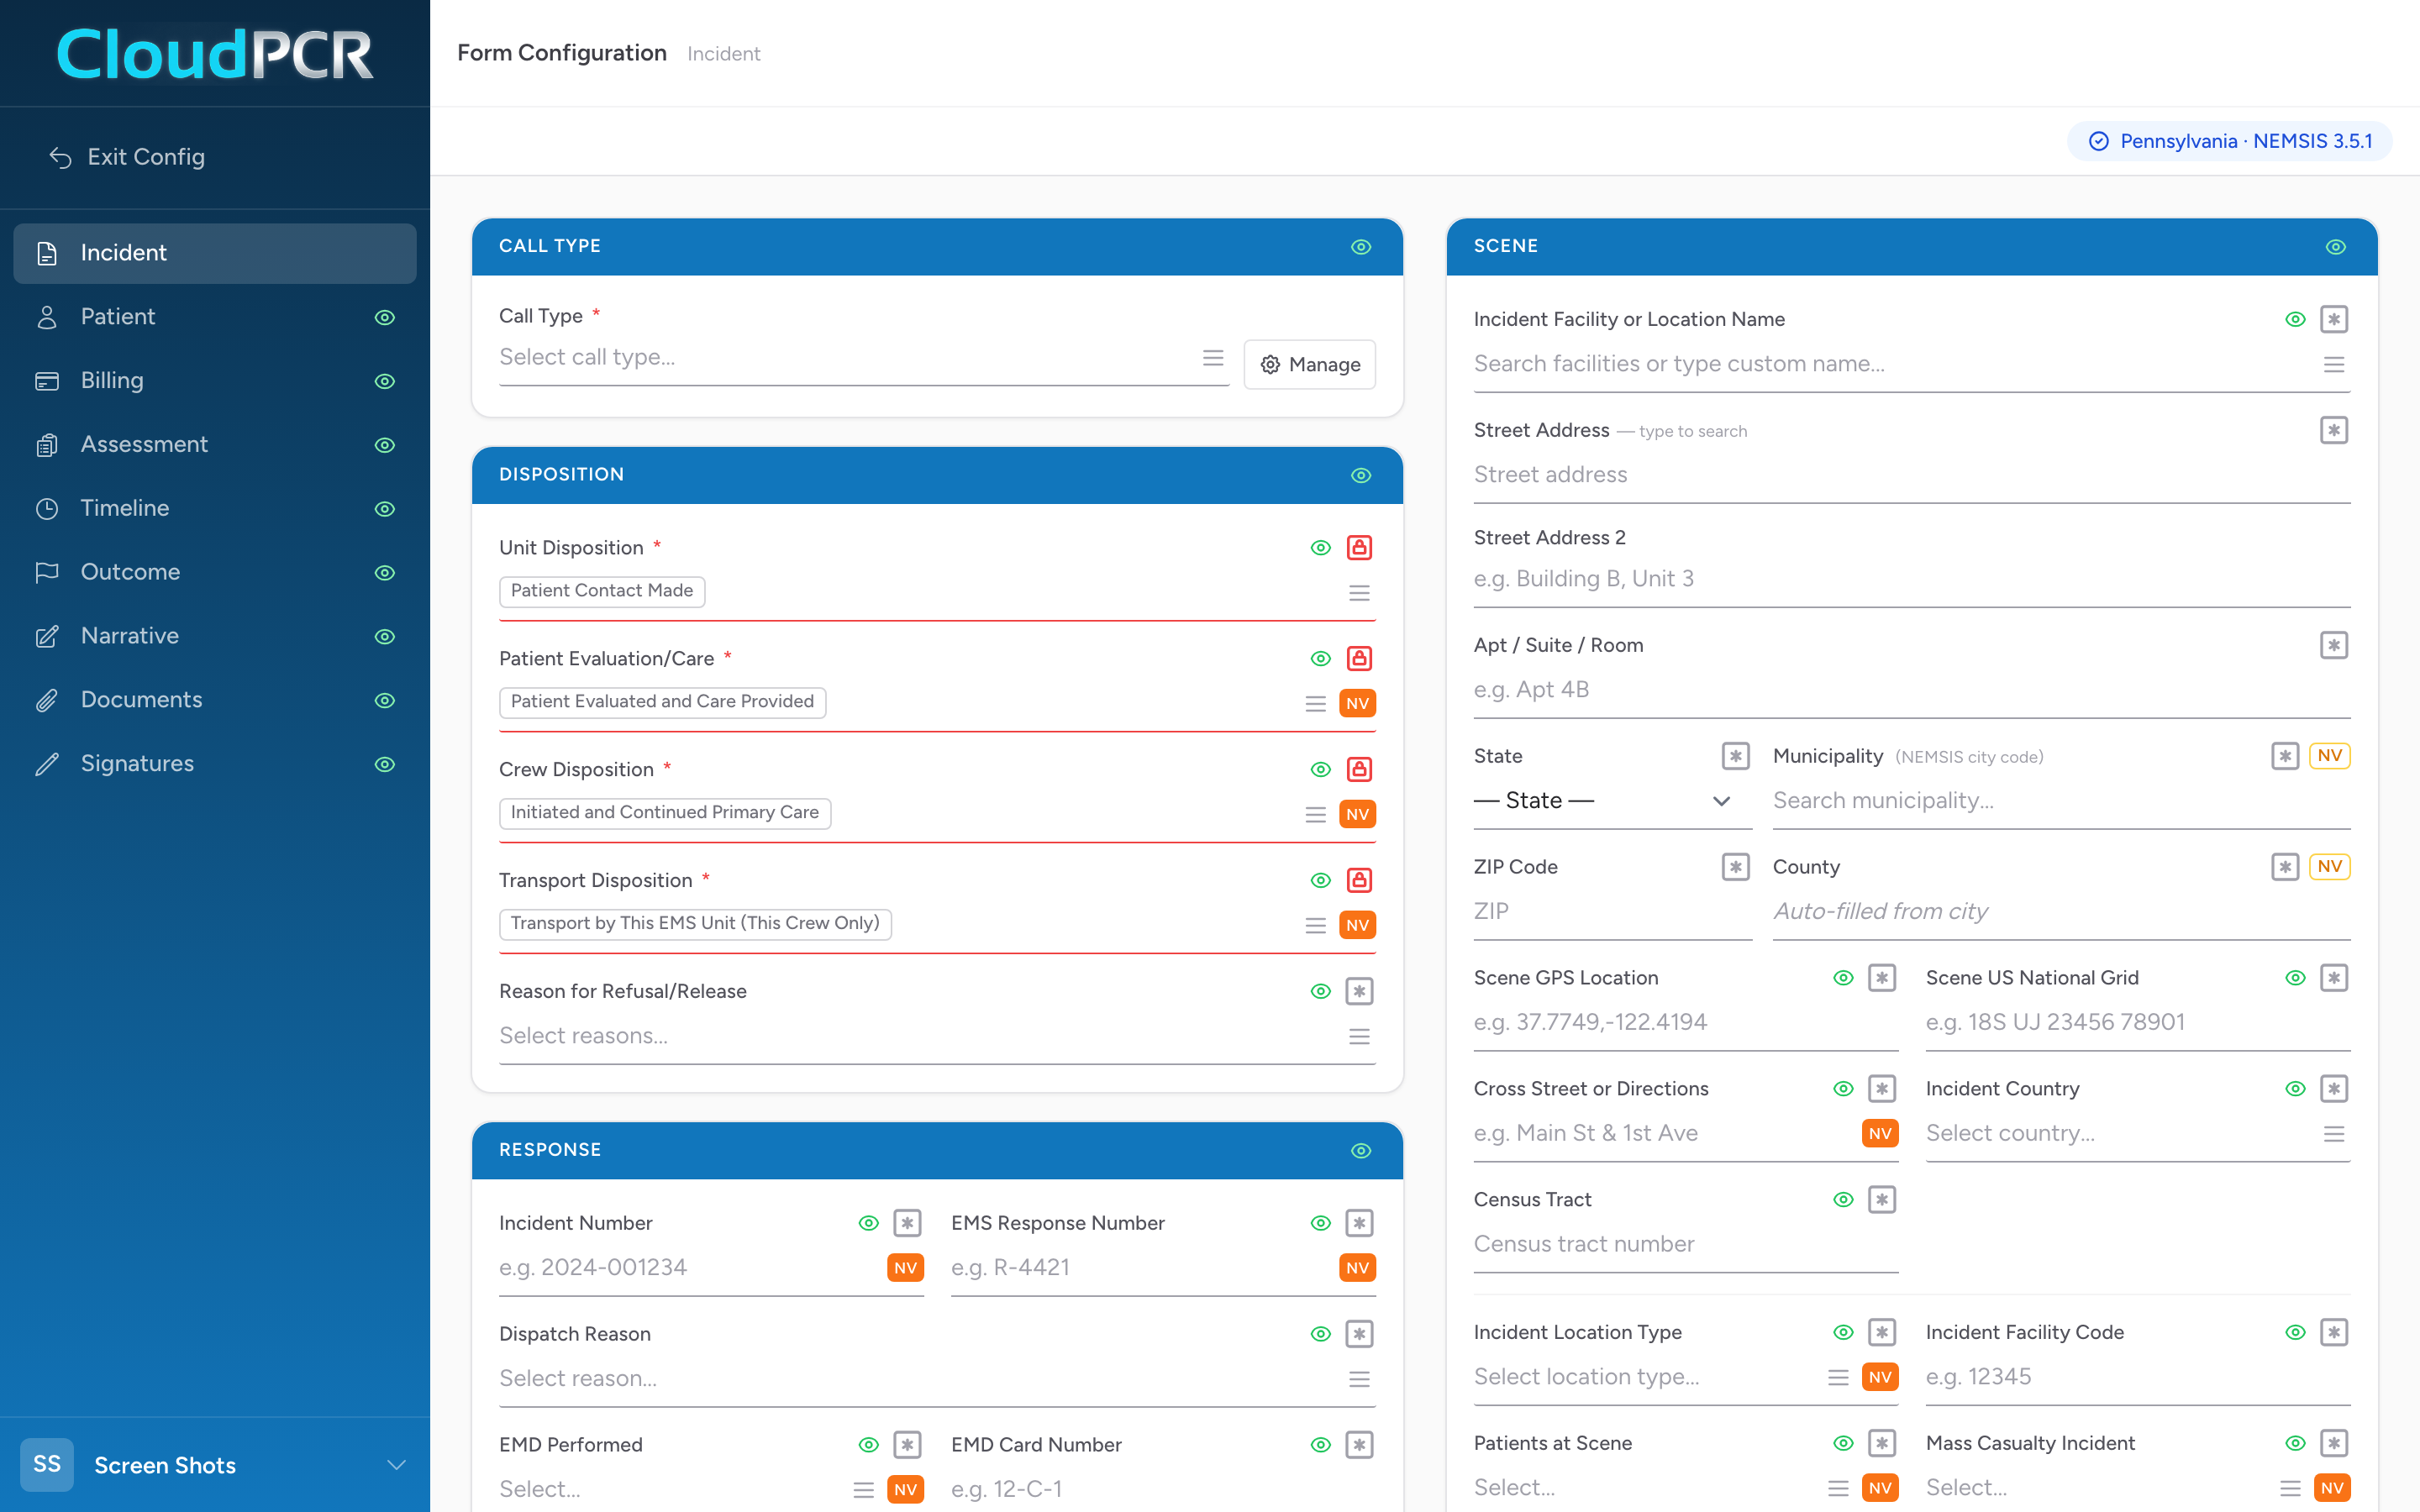
The page looks like a PCR because it is one — a live copy of your form in configuration mode. The navigation lists the form's pages: Incident, Patient, Billing, Assessment, Timeline, Outcome, Narrative, Documents, and Signatures. Click a page to configure it. When you are done, Exit Config takes you back to Settings.
Every change saves the moment you make it — there is no Save button. If CloudPCR cannot apply a change, an amber banner explains why and puts the control back.
Two modes: everywhere, or per call type
The single most important thing to understand on this page is the Call Type picker at the top of the Incident page:
- No call type selected — your changes apply to the whole form, on every call. Use this for fields your agency never documents, period.
- A call type selected — your changes apply only to charts of that call type. Use this to make a lean form for routine transfers while keeping the full form for 911 calls, and to set defaults.
- All Call Types selected — broadcast mode. The page warns you: every default, hidden, and required change applies to all call types at once.
The icons on each field change their meaning with the picker, and their tooltips tell you which mode you are in — for example the eye icon reads "Hide this field" with nothing selected and "Hide for this call type" once you pick one.
There is also a third way that skips the picker entirely: every field's toggles include a gear icon that opens a window showing that field's Hidden, Required, and default settings for every call type at once. See Managing a field across every call type.
Call types: pick, create, rename
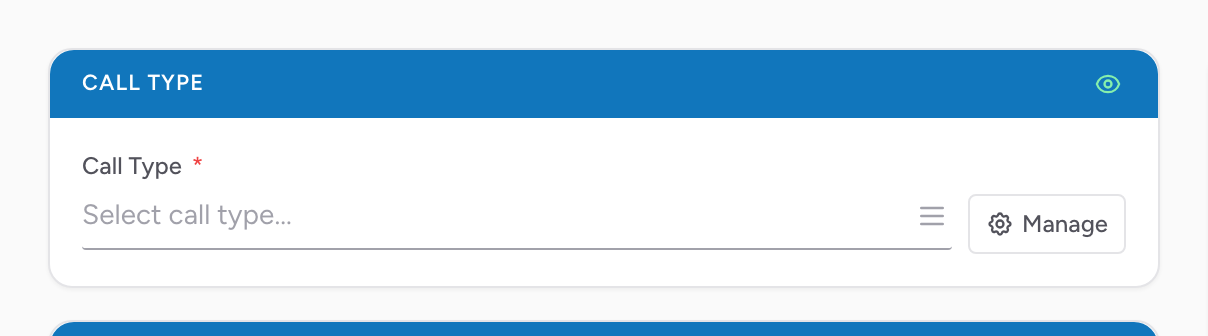
On the Incident page, the Call Type section holds the picker (Select call type...) and a Manage button.
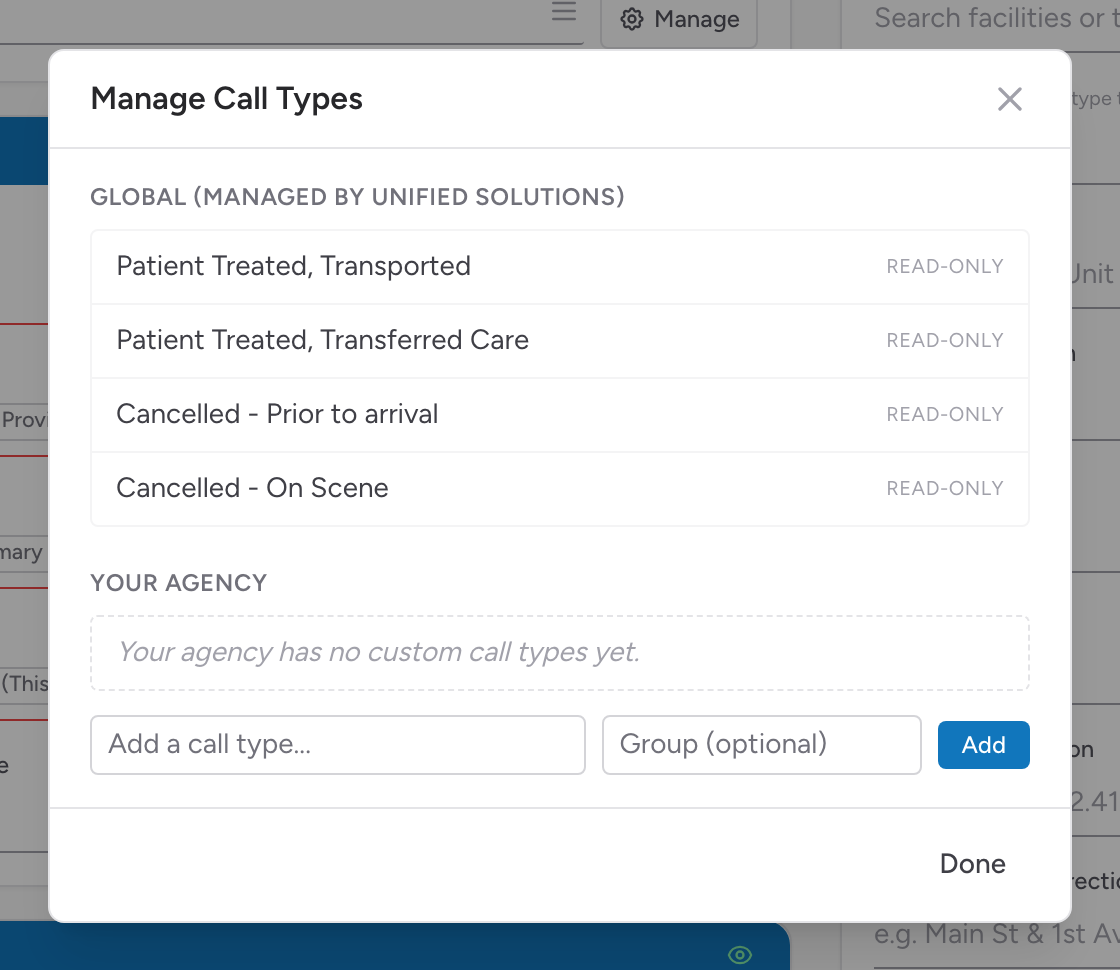
Click Manage to open the Manage Call Types window. It has two lists:
- Global (managed by Unified Solutions) — the standard call types. They are marked Read-only; you cannot rename or delete them, but you can still configure your form differently for each of them.
- Your agency — call types your agency created.
To add one, type its name in the Add a call type... box, optionally give it a Group (groups become headings in the picker), and click Add. Use the pencil icon to rename one of your own, the trash icon to delete it — deleting also removes any form rules it owns. Click Done to close.
Hide a field
- Decide the scope. To hide it everywhere, leave the call type picker empty. To hide it only for one kind of call, pick that call type first.
- Find the field on its page and click the eye icon next to its label.
- The field dims but stays visible to you — configuration mode always shows hidden items grayed out. Crews will not see it at all.
Require a field
- Set the scope with the call type picker, same as hiding.
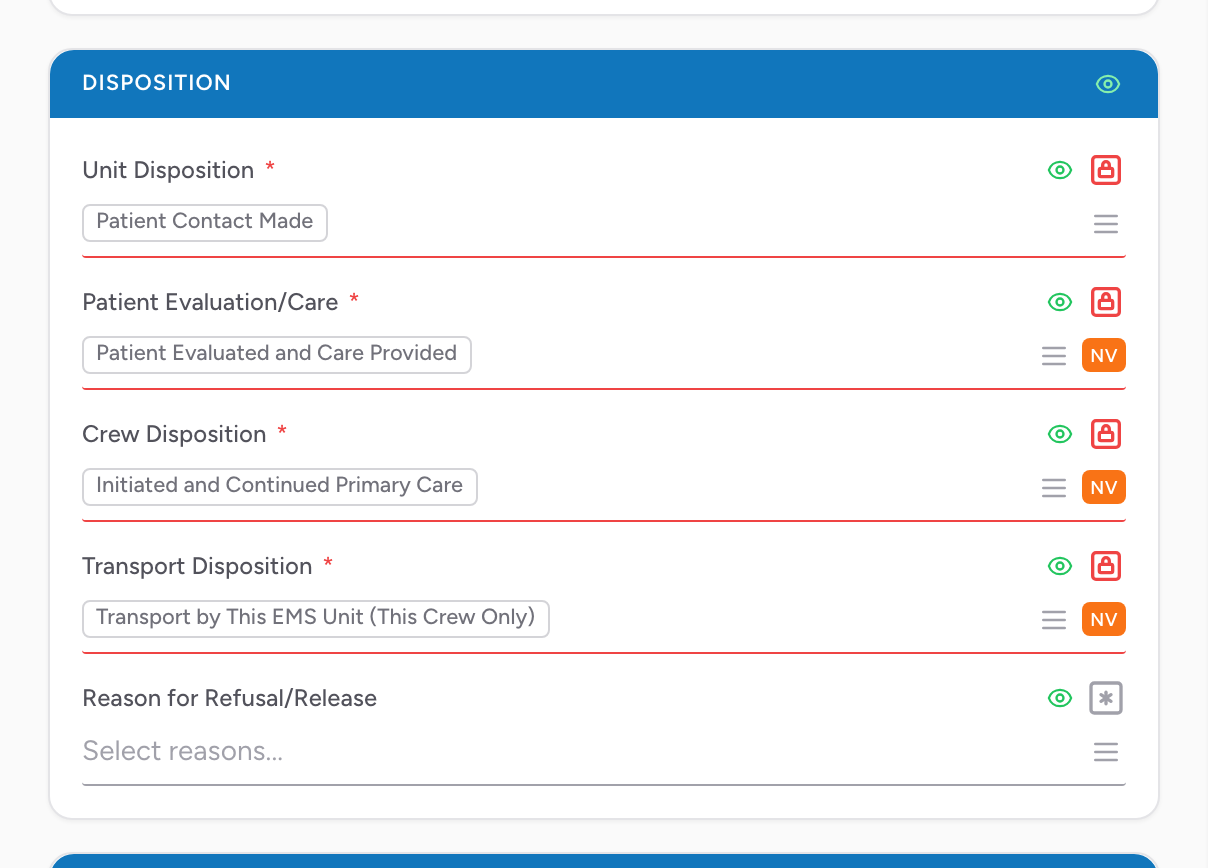
- Click the asterisk icon next to the field's label.
- The field's label now carries a required marker on the PCR, and crews are pushed to fill it before the chart is complete.
Some fields are already required by NEMSIS or by the platform — those show a red asterisk you cannot turn off, and the toggle explains where the requirement comes from. A hidden field shows no required toggle; show it first.
The M, R, E, and O badges: what your state expects
Every field carries a small letter badge showing how your state's reporting rules treat it:
- M (red) — mandatory. The state always expects a value in this field.
- R (orange) — required. Included in the state submission; it can be left empty with a reason.
- E (blue) — recommended. Sent to the state when filled in.
- O (gray) — optional. Safe to hide.
Hover a badge for the explanation. Use the badges when trimming your form: the O fields are free to hide, while hiding an M field means giving it a default so the state still gets its answer.
Default a field
Defaults always belong to a call type — the picker cannot be empty. To set one:
- Pick the call type in the Call Type picker.
- Fill in the field itself, right there on the configuration page — pick the dropdown value or type the text you want pre-filled.
- A DEFAULT badge appears next to the field's label. That value is now stamped onto every new chart of that call type.
Defaults only fill fields the crew has not touched — they never overwrite something already entered. To remove a default, clear the field's value with that call type selected.
Default and hide together
The combination is the point: a field your state requires but your agency answers the same way every time can be filled automatically and taken off the crew's screen entirely.
- Pick the call type and set the default value, as above.
- Click the field's eye icon to hide it for that call type.
For a small set of fields the state submission can never go without, CloudPCR enforces this order for you: it refuses to hide the field until every call type has a default for it, and refuses to clear a default while the field is hidden. The amber banner names the call types that still need a value.
Hide a section
Every section header (like Other Responders or Delays on the Incident page) has its own eye icon on the right side of the header bar. Click it to hide the whole section — everywhere with no call type selected, or for one call type with one selected. The section dims for you and disappears for crews.
Hide a page
With a call type selected, each page in the navigation shows an eye icon. Click it to hide that entire page for charts of that call type — for example, hiding Billing on a public-assist call type. The Incident page can never be hidden.
A worked example: setting up a "Standby" call type
Your agency covers football games, and standby events need a fraction of the form. Here is the whole flow:
- On the Incident page, click Manage. Type
Standbyin the Add a call type... box and click Add, then Done. - Pick Standby in the Call Type picker.
- Hide what a standby never needs: click the eye on the Billing and Timeline pages in the navigation, and on sections like Delays.
- Default what is always the same: with Standby still selected, set the disposition fields to your standby values and pick your usual response mode. Each one gets a DEFAULT badge.
- Open a new PCR, pick the Standby call type, and check the result: the hidden pages are gone and the defaults are already filled in.
Things to know
- Hidden wins over required. If a field is both hidden and marked required somewhere, crews are not asked for it. Hiding is the stronger setting.
- Some hides are above your agency. If a field was hidden by the platform or your state, your eye toggle cannot bring it back.
- The Timeline page has no per-field configuration — you can only hide the whole page per call type.
- Custom fields configure on their own page. The Agency Fields section shows your custom fields, but adding and editing them happens in Settings → Custom Fields. Note that hiding the Agency Fields section for a call type hides it on every page it appears on.
- Dropdown contents are configurable too. Open any dropdown on this page to star, rename, or hide individual options — see Customizing dropdown options.
- The state badge is informational. The label in the top corner shows which state's NEMSIS form you are configuring. It is set by Unified Solutions from your agency's state — there is no state switcher.