
What this is
Most of your payers send their remittances back electronically through your clearinghouse. Throughout the day, the system pulls those electronic remittances in on its own, reads each one, and lines up the payments and adjustments for you to review. Nothing posts to a claim until you approve it, so an electronic remittance can never double up a payment you already entered by hand. Some labels on this page name Availity directly; read that as your clearinghouse.
This page only fills in when your remittances arrive automatically from your clearinghouse. If your agency downloads remittance files from the clearinghouse portal yourself, this page stays empty. Post those files through importing remittance files instead, and the payments go straight onto the claims.
Opening the remittances queue
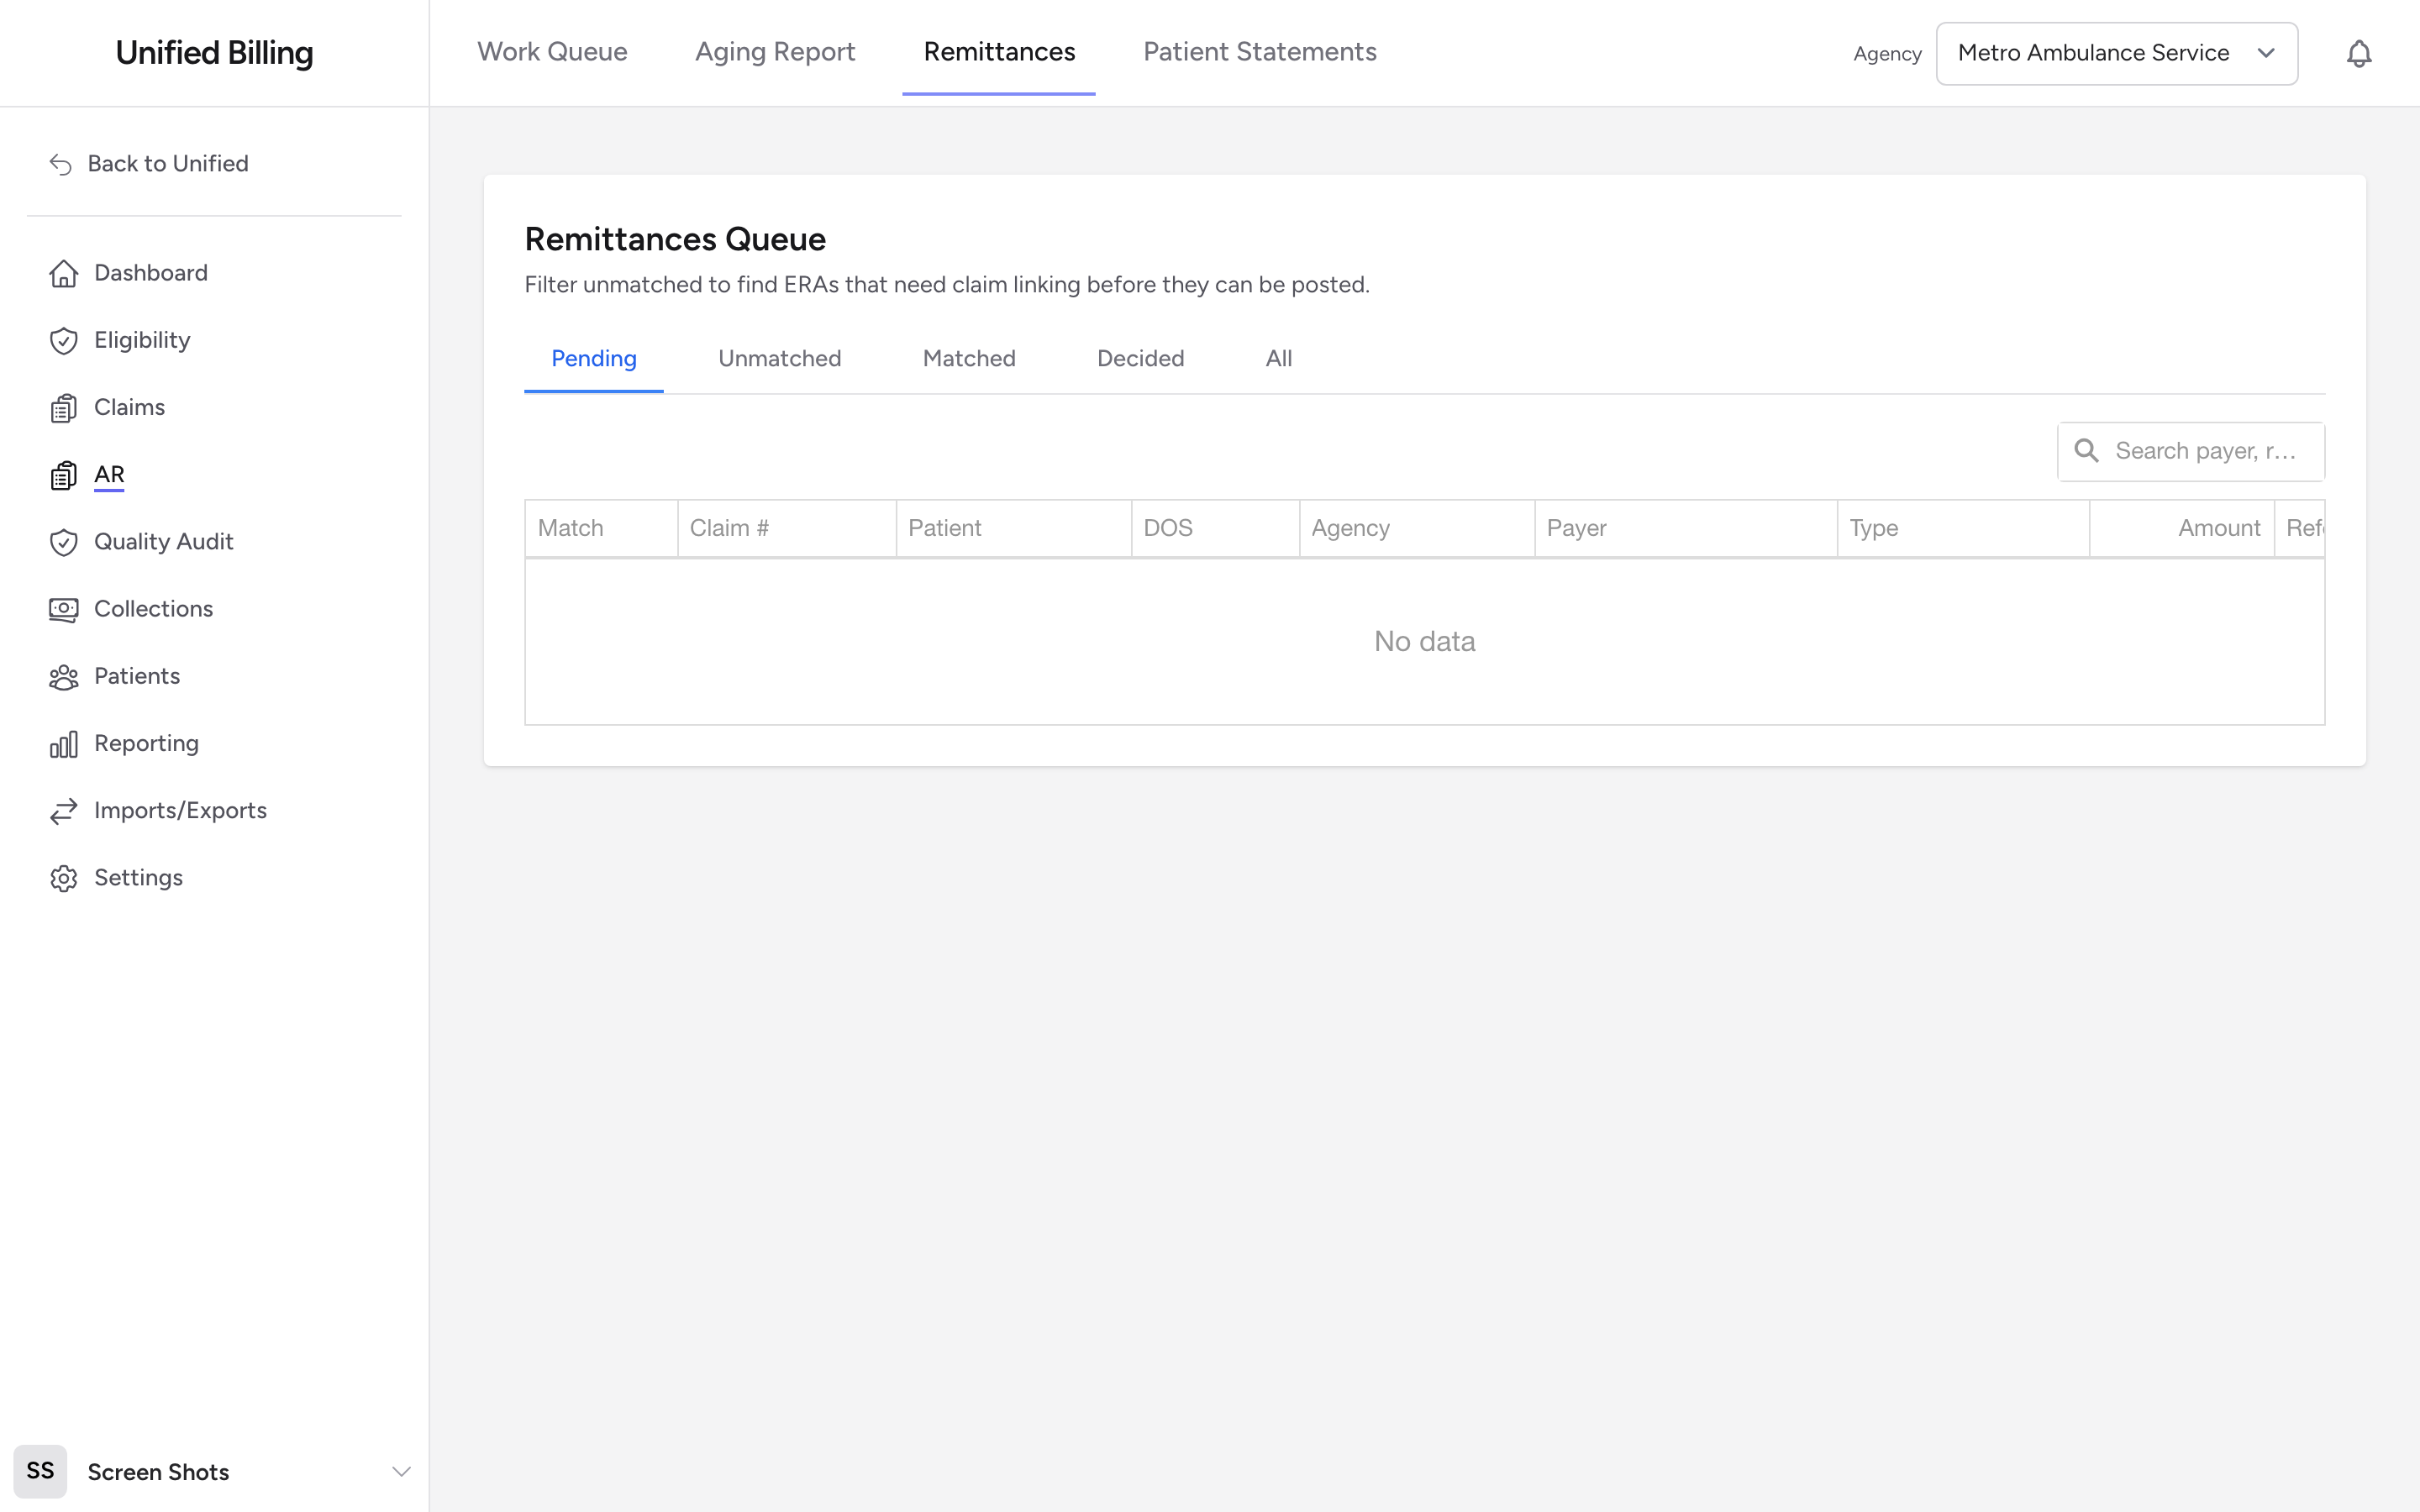
Click AR in the menu, then click the Remittances sub-tab. Each row is one payment or adjustment line that arrived from your clearinghouse, waiting for your review.
Tabs
- Pending: every line still waiting for a decision, whether or not it is matched to a claim. This is the default view.
- Unmatched: lines where the payer used a claim number the system could not line up on its own. These need a hand before they can post.
- Matched: lines tied to a claim and ready to post.
- Decided: everything you have already approved or dismissed.
- All: the full list.
Reading the columns
The Match column is the one to watch. A green Matched dot means the line is tied to a claim and is ready to post. A red Unmatched dot means it still needs to be linked. Type tells you whether the line is a payment or an adjustment, and Reference is the check or trace number off the remittance.
Approving a payment
On the Pending tab, click the three-dot button in a line's Actions column and click Approve & post. A window shows the claim, the payer, and the amount, and asks you to confirm. Click Approve & post again. The payment is written to the claim, the line moves to Decided marked Approved, and the claim balance updates in the AR work queue right away.
Dismissing a duplicate
If a remittance is one you already posted by hand, you do not want to post it twice. Open its Actions menu and click Dismiss. Add a short reason (it is optional, but the next biller will thank you), then click Dismiss. The line moves to Decided marked Dismissed, nothing is written to the claim, and your note stays on the record so the next biller knows why.
Matching an unmatched remittance
On the Unmatched tab, open the Actions menu and click Match to claim. A window shows the remittance details and a search box. Type the patient last name or the claim number, and matching claims appear below. If you want to read the raw remittance first, click View source ERA file to open it in a new tab. Pick the right claim and click Match to selected claim. The line moves to the Matched tab; open its Actions menu once more and click Approve & post to finish.
Example
Blue Cross sent an $840 payment under their own internal number instead of yours, so it lands on the Unmatched tab. You click Match to claim, search the patient last name, pick the right claim, and click Match to selected claim. Then you open the menu again, click Approve & post, confirm, and the $840 lands on the claim.
Tips
- Work the Pending tab first, then clear the Unmatched tab when you have time to track down the right claim.
- Always leave a reason when you dismiss a line. Six weeks from now it explains why a payment was not posted.