The main menu
Once you open the Billing app, you see the main menu. It gives you access to every section of the app. Here is what each item does:
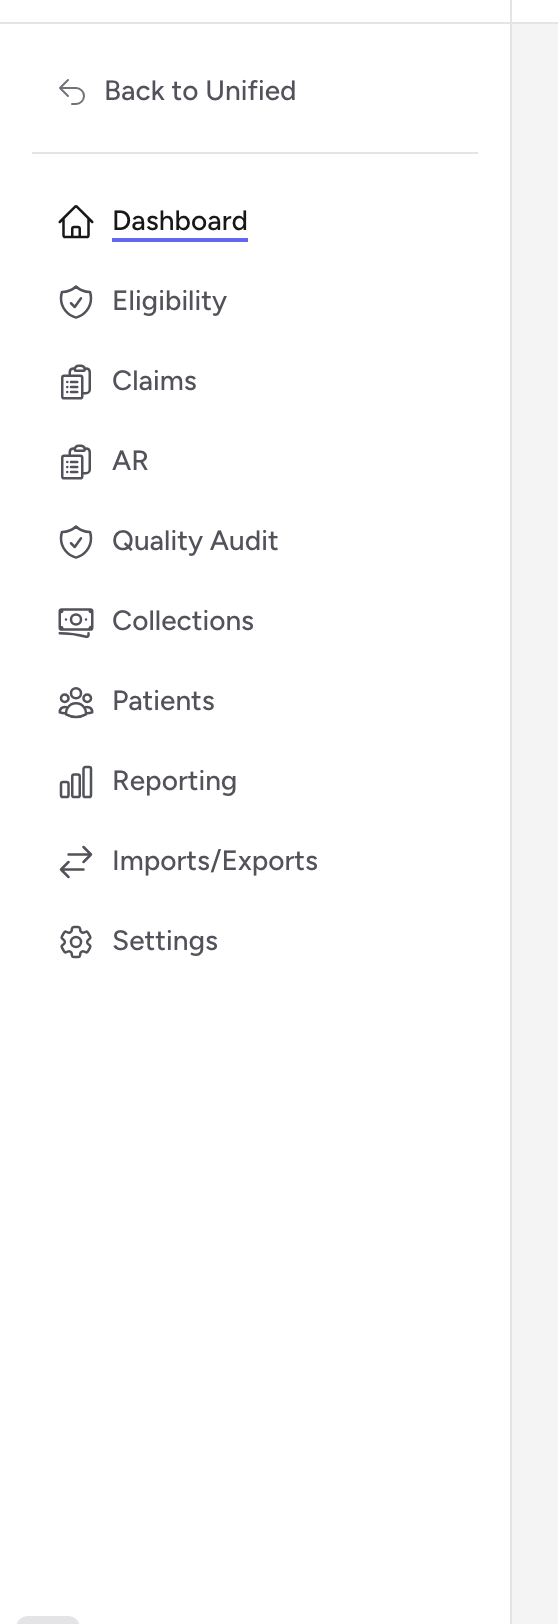
- Dashboard — your home base. Shows claim totals, outstanding balances, payment summaries, and quality audit metrics at a glance.
- Eligibility — check whether a patient has active insurance coverage before you submit a claim.
- Claims — the heart of the app. View, create, edit, and validate insurance claims.
- AR — accounts receivable. Track what insurance companies and patients still owe on each claim.
- Quality Audit — review flags that mark problems on claims, like missing information or coding issues.
- Collections — manage patient balances that are past due and need follow-up.
- Patients — look up patient records and see all claims tied to a patient.
- Reporting — run reports on claims, payments, and billing history. Export to Excel.
- Imports/Exports — bring in claims from CloudPCR, send claims to insurance companies, upload payment files, and generate paper claim forms.
- Settings — configure agencies, payers, locations, fee schedules, QA rules, and user accounts.
A typical workflow
Most billing clerks follow a daily pattern like this:
- Check the Dashboard for an overview of the day.
- Go to Imports/Exports to bring in new runs from CloudPCR.
- Open Quality Audit to fix any flagged issues on new claims.
- Move to Claims to review and finalize claims for submission.
- Use Imports/Exports again to transmit finalized claims to insurance companies.
- Check AR for claims that need follow-up.
Tips
- You can always get back to the dashboard by clicking Dashboard in the menu.
- Most lists in the app support searching, filtering, and sorting. Look for the search bar and filter options at the top of each page.