
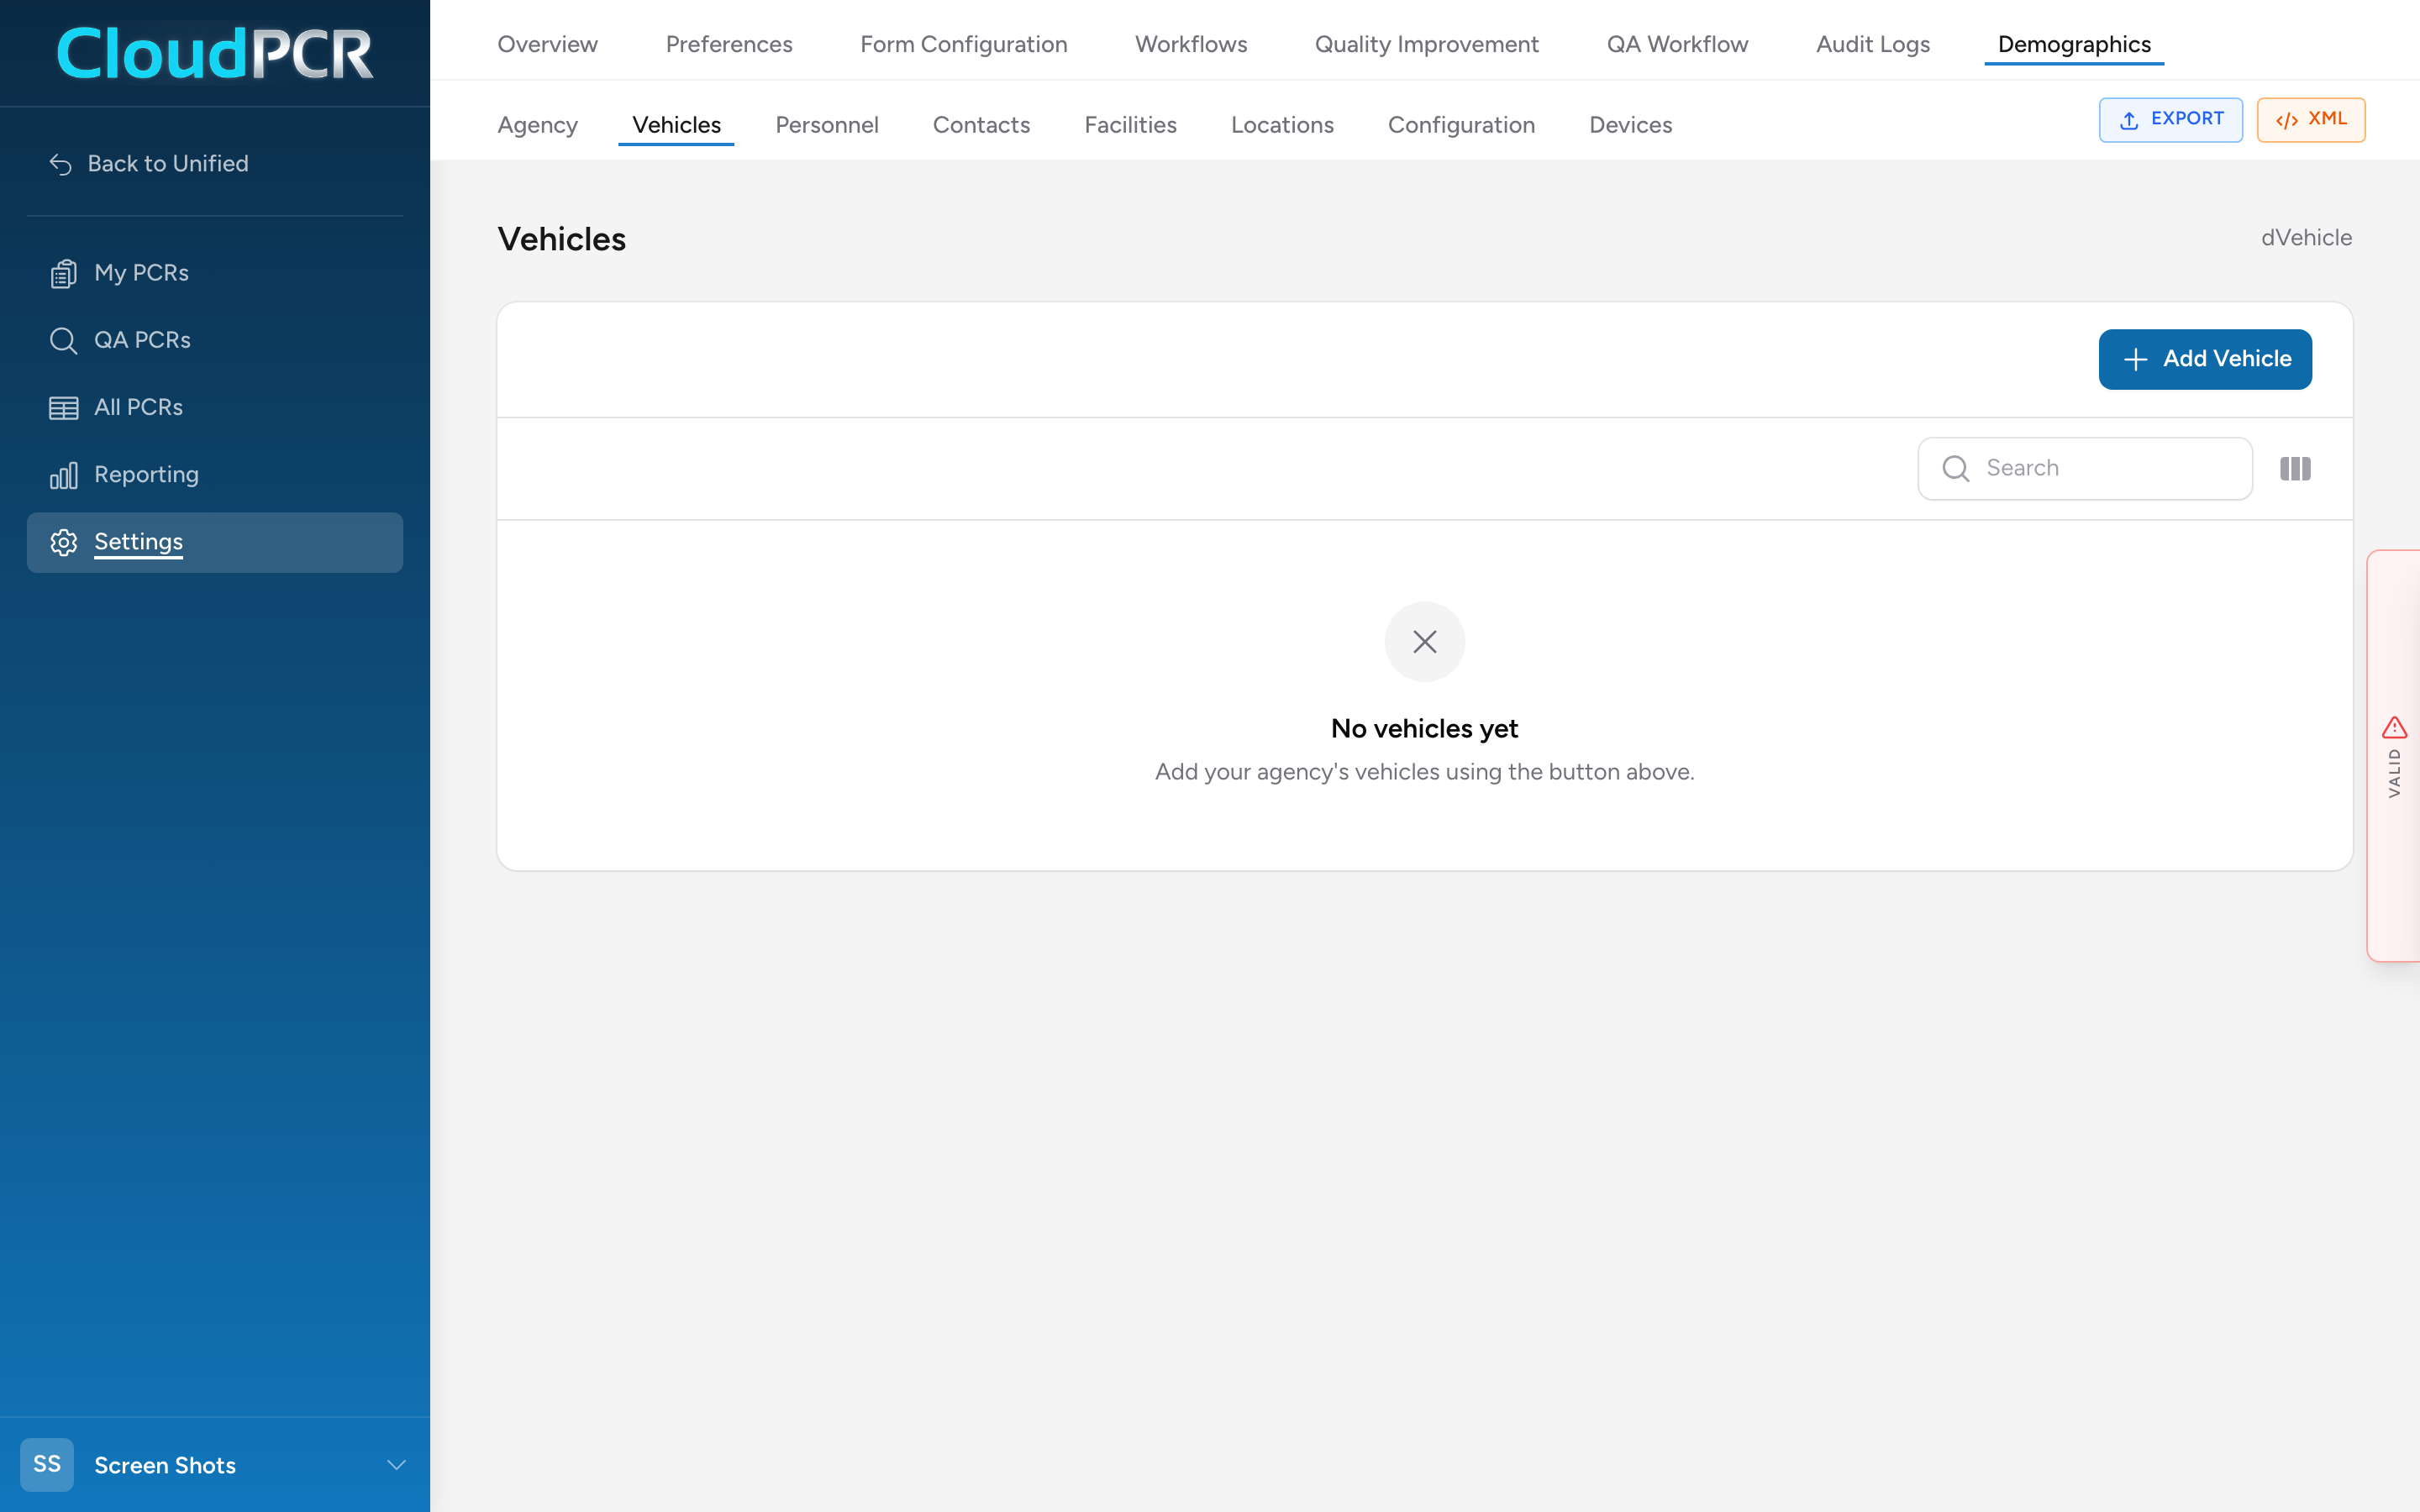
The Vehicles page (Demographics → Vehicles) lists every unit your agency operates — ambulances, supervisor vehicles, rescue squads, anything you assign to a PCR. The form fields map directly to NEMSIS element dVehicle.
Add a vehicle
- From the menu, click Settings, then Demographics, then Vehicles.
- Click Add Vehicle.
- Fill in the Vehicle Information section: Unique Vehicle Number (dVehicle.01), Call Sign (.02), Type of Emergency Vehicle (.03), and Level of Service (.04).
- Optionally fill in Cost & Model Year: Purchase Cost (.09) and Model Year (.10).
- If your state requires different values for NEMSIS export, fill in Export Vehicle Number (eResponse.13) and Export Call Sign (eResponse.14). Leave blank to export the values you entered above.
- Click Add Vehicle at the bottom of the modal.
Vehicle Certification Levels (.05–.08)
Below the main fields is a Vehicle Certification Levels sub-table. Click Add to record the certification level the vehicle is staffed at for each response type (911 Ambulance, 911 Non-Transport, Non-911). Add one row per response type the vehicle runs. This is per-vehicle, not a single value.
Annual Usage Statistics (.11–.13)
NEMSIS asks for annual mileage and hours of service per vehicle per year. Click Add under Annual Usage Statistics and fill in Year (.11), Hours (.12), and Miles/Km (.13). You usually do this once a year.
Editing a vehicle
In the vehicles table, click Edit on the row you want to change. Update any field, then click Save Changes.
Marking a vehicle as inactive
Every vehicle has an Active checkbox at the bottom of the edit modal. If you sell a truck or take it out of service, uncheck Active instead of deleting the record — historical PCRs need to keep their reference to the vehicle.
Note: This form is schema-driven. If you see "No schema elements found" where the Vehicle Information fields should be, your agency's Configuration has not been linked to a state yet — set the state and import the NEMSIS dataset first.