The checklist is where you do the actual inspection. It is organized into sections, and each section contains items you need to respond to. The checklist you see depends on which profile was matched to your vehicle.
Working through sections
Sections appear one after another down the page. Each section has a title and a brief description. Work through every item in a section before moving on to the next.
Item types you will encounter
Your checklist can include several types of items. Here is how each one works:
Pass / fail
You see three buttons: Pass, Fail, and N/A. Click the one that matches what you found. If a tire is in good shape, click Pass. If a warning light is on, click Fail. If the item does not apply to this vehicle, click N/A.
Yes / no (boolean)
Two buttons, typically labeled Yes and No. Click the one that answers the question.
Checkbox or toggle
A single checkbox that you tick to confirm something is done. For example, "Cab interior cleaned" -- check the box when it is done.
Count
A number field with plus and minus buttons. Use it for items where you are counting stock, like how many oxygen masks are on board. The field may have a minimum and maximum range shown below it.
Text input
A short text field for typed responses. Use it for things like serial numbers or brief descriptions.
Long text
A larger text area for detailed notes, like describing damage or explaining a failed item.
Fuel gauge
A visual slider showing fuel levels (typically E, 1/4, 1/2, 3/4, F). Click the level that matches the vehicle's fuel gauge.
Signature
A signature pad where you sign with your finger or mouse. Draw your signature inside the box, then click Save Signature. If you need to redo it, click Clear first. Once saved, a preview of your signature appears below the pad.
Photo upload
A file upload field for attaching photos. This is useful for documenting damage or recording gauge readings with a picture. Click the upload area and choose a file from your device. A preview appears after the upload finishes. You can remove an attached file and upload a different one.
Dropdown and multiple choice
Some items ask you to pick from a list. Select the option that applies. For multi-select lists, hold Cmd or Ctrl to pick several options. Multiple-choice items render as radio buttons (single pick) or checkboxes (multiple picks) depending on how the checklist was built.
Notes on each item
Every item has an optional notes field below it. Use it to add context. For example, if you mark a tire as Fail, write "rear driver side, tread worn past wear bar" in the notes so the next person knows exactly what to look at.
Required items
Items marked Required must have a response before you can submit the run. If you skip a required item, the app will let you know.
Moving on
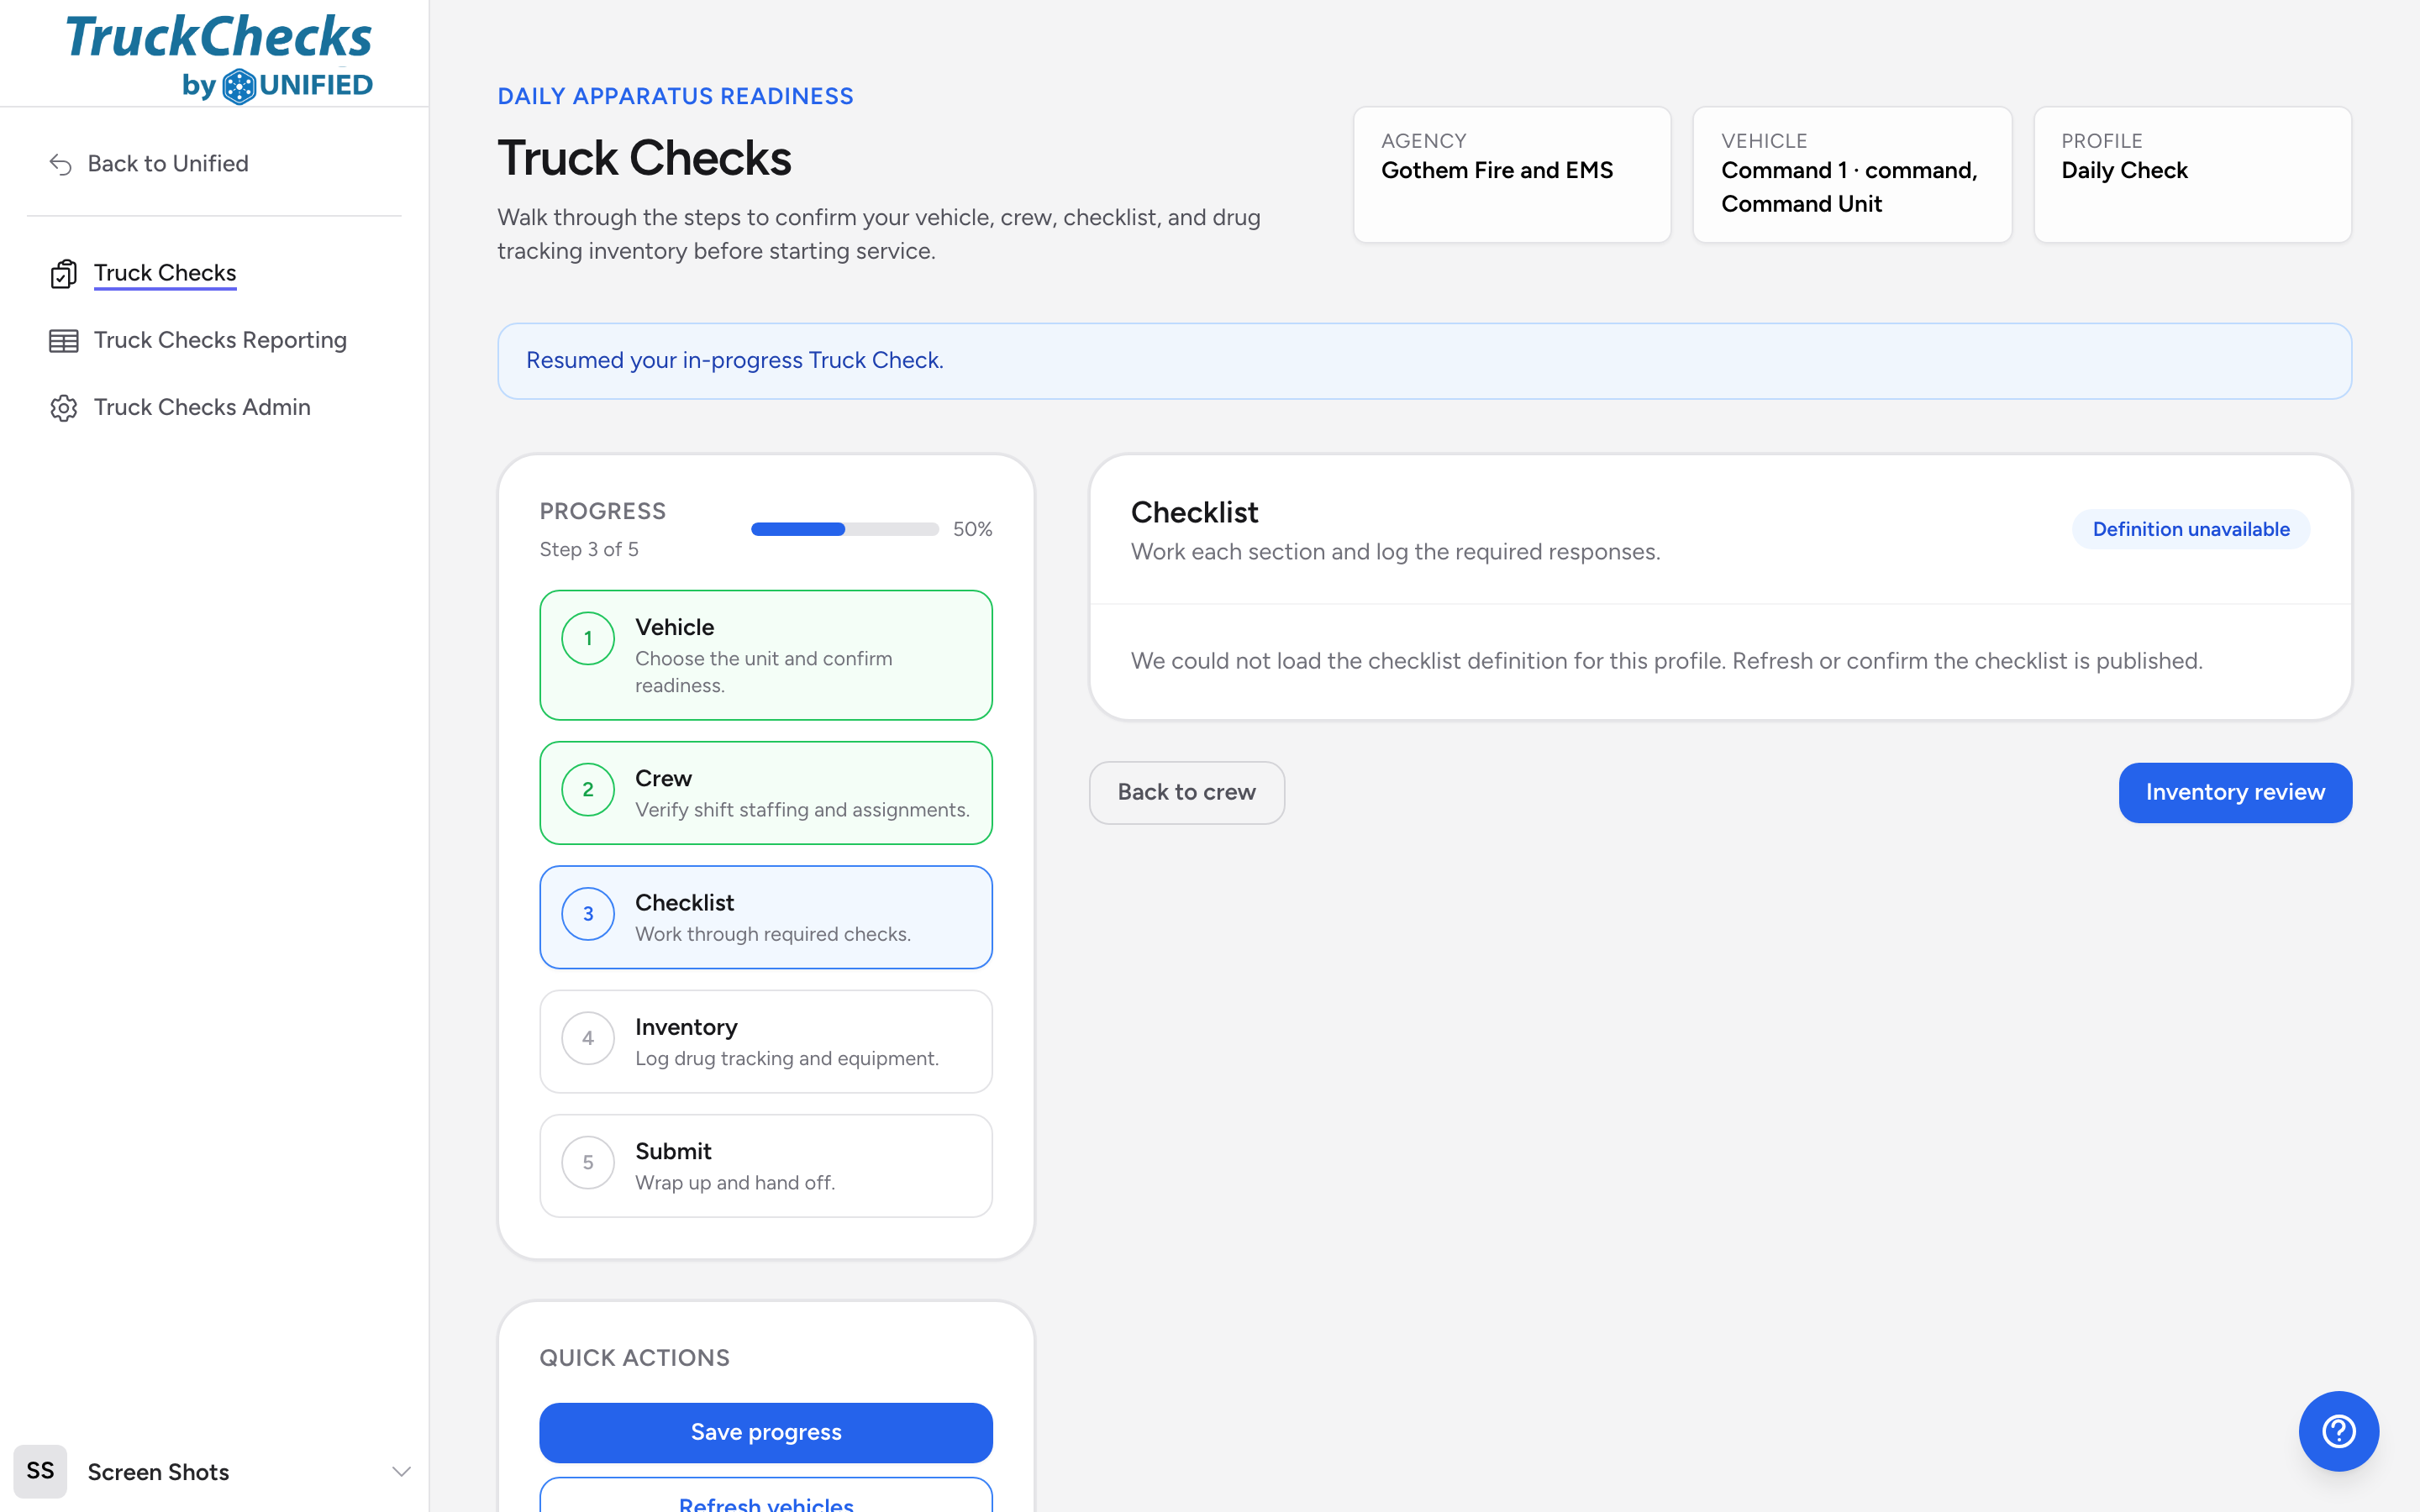
When you finish all sections, click Inventory review to move to the next step. Click Back to crew if you need to go back.