What this step covers
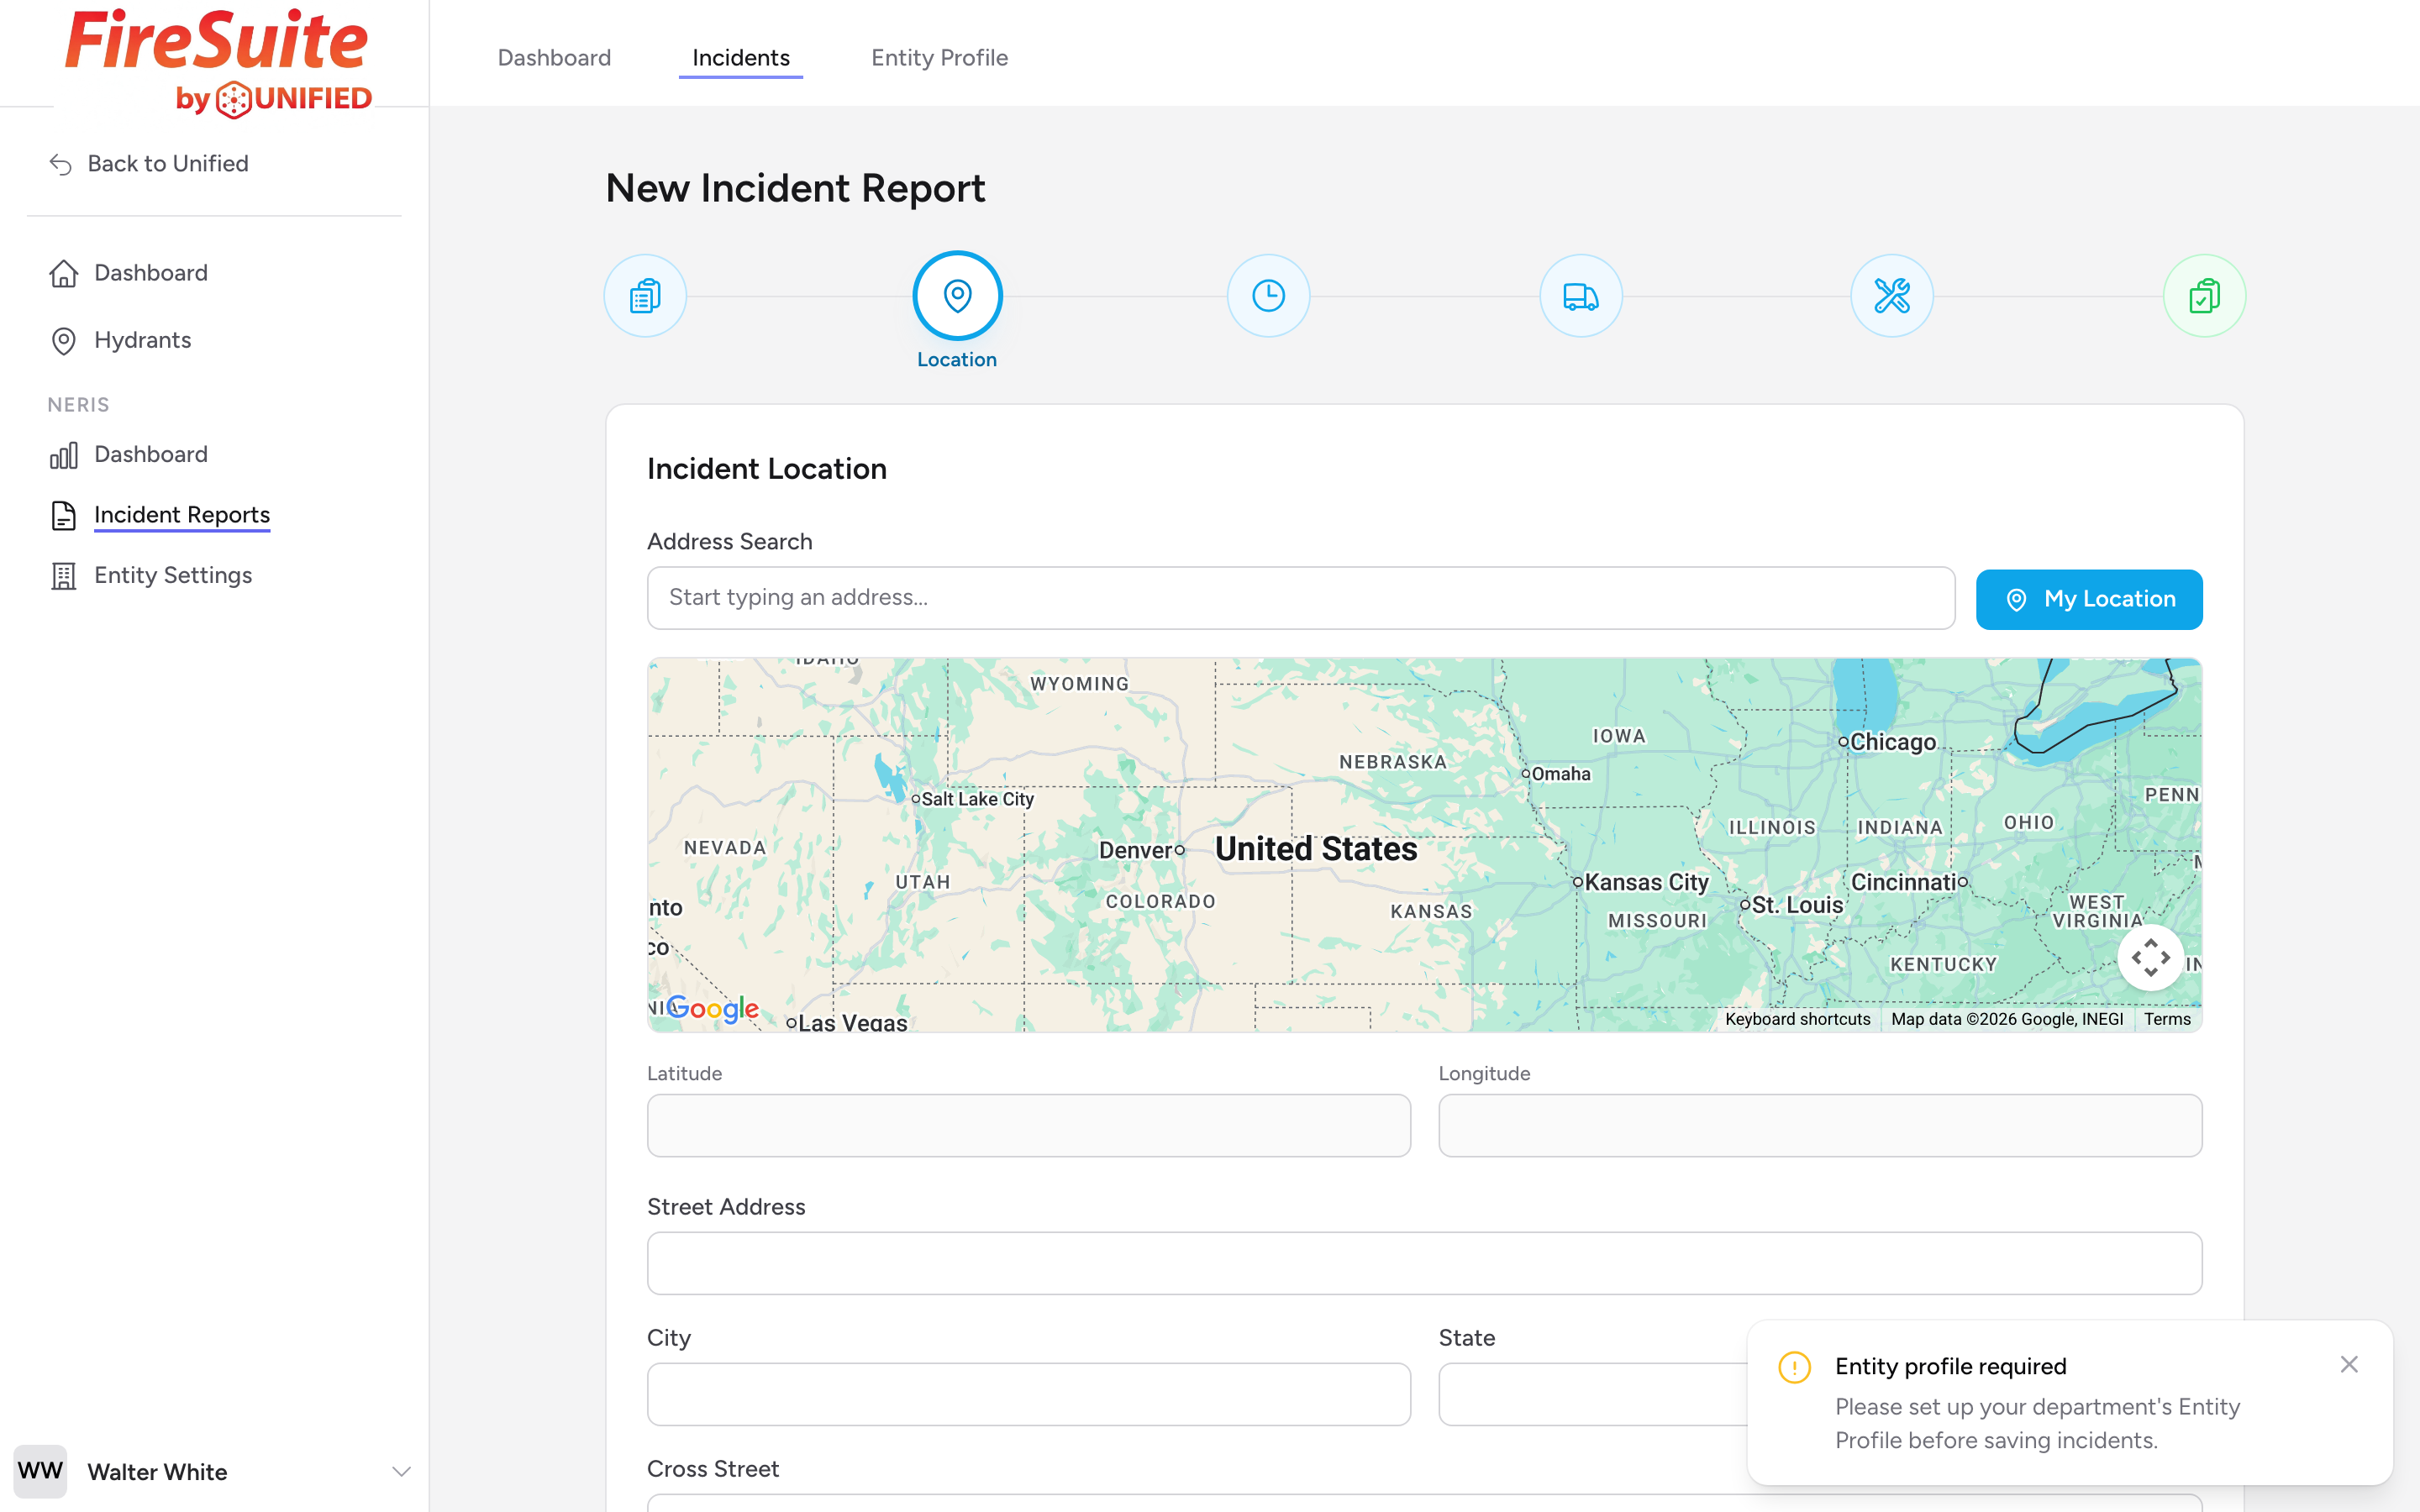
The Location step (titled Incident Location on the page) is where you record where the incident happened. You have three ways to set the location, and you can use any combination of them.
Address search with autocomplete
Start typing in the Address Search field at the top of the step. The form will suggest matches as you type. Pick a suggestion and the map, latitude, longitude, and the address fields below will be filled in together.
My Location
If you are filling out the report on a device with location services (like a phone or tablet at the scene), click the My Location button next to the address search to capture your current position. This works well when you are standing at the incident location.
Click or drag the pin
The map below the address search is the fastest way to fine-tune the location. Click on the map to drop a pin, or drag an existing pin to adjust it. The latitude and longitude fields update automatically.
Address fields
Below the map you will see the Street Address, City, State, ZIP, and Cross Street fields. You can edit any of these directly if the autocomplete did not match exactly.
Example
You responded to a vehicle accident at the intersection of Main Street and Oak Avenue. You type "Main St" in the address search and see a suggestion for "123 Main St, Springfield, OH 45501." You pick it, then drag the pin on the map to the exact intersection. You also enter "Oak Ave" as the cross street.
Location Use
Below the address section, the Location Use section has a Use Type picker (pick one from the list -- use the category dropdown and search box to narrow it down) and a Use Status dropdown. These fields help describe the scene.
Tip: If the incident happened on a highway or in an area without a standard address, use the map to drop a pin at the correct spot. The latitude and longitude will be captured even if the address fields are incomplete.