
You start a new patient care report (PCR) for every call. Even a canceled call gets a PCR — you just record it as canceled in the Outcome tab.
Create the PCR
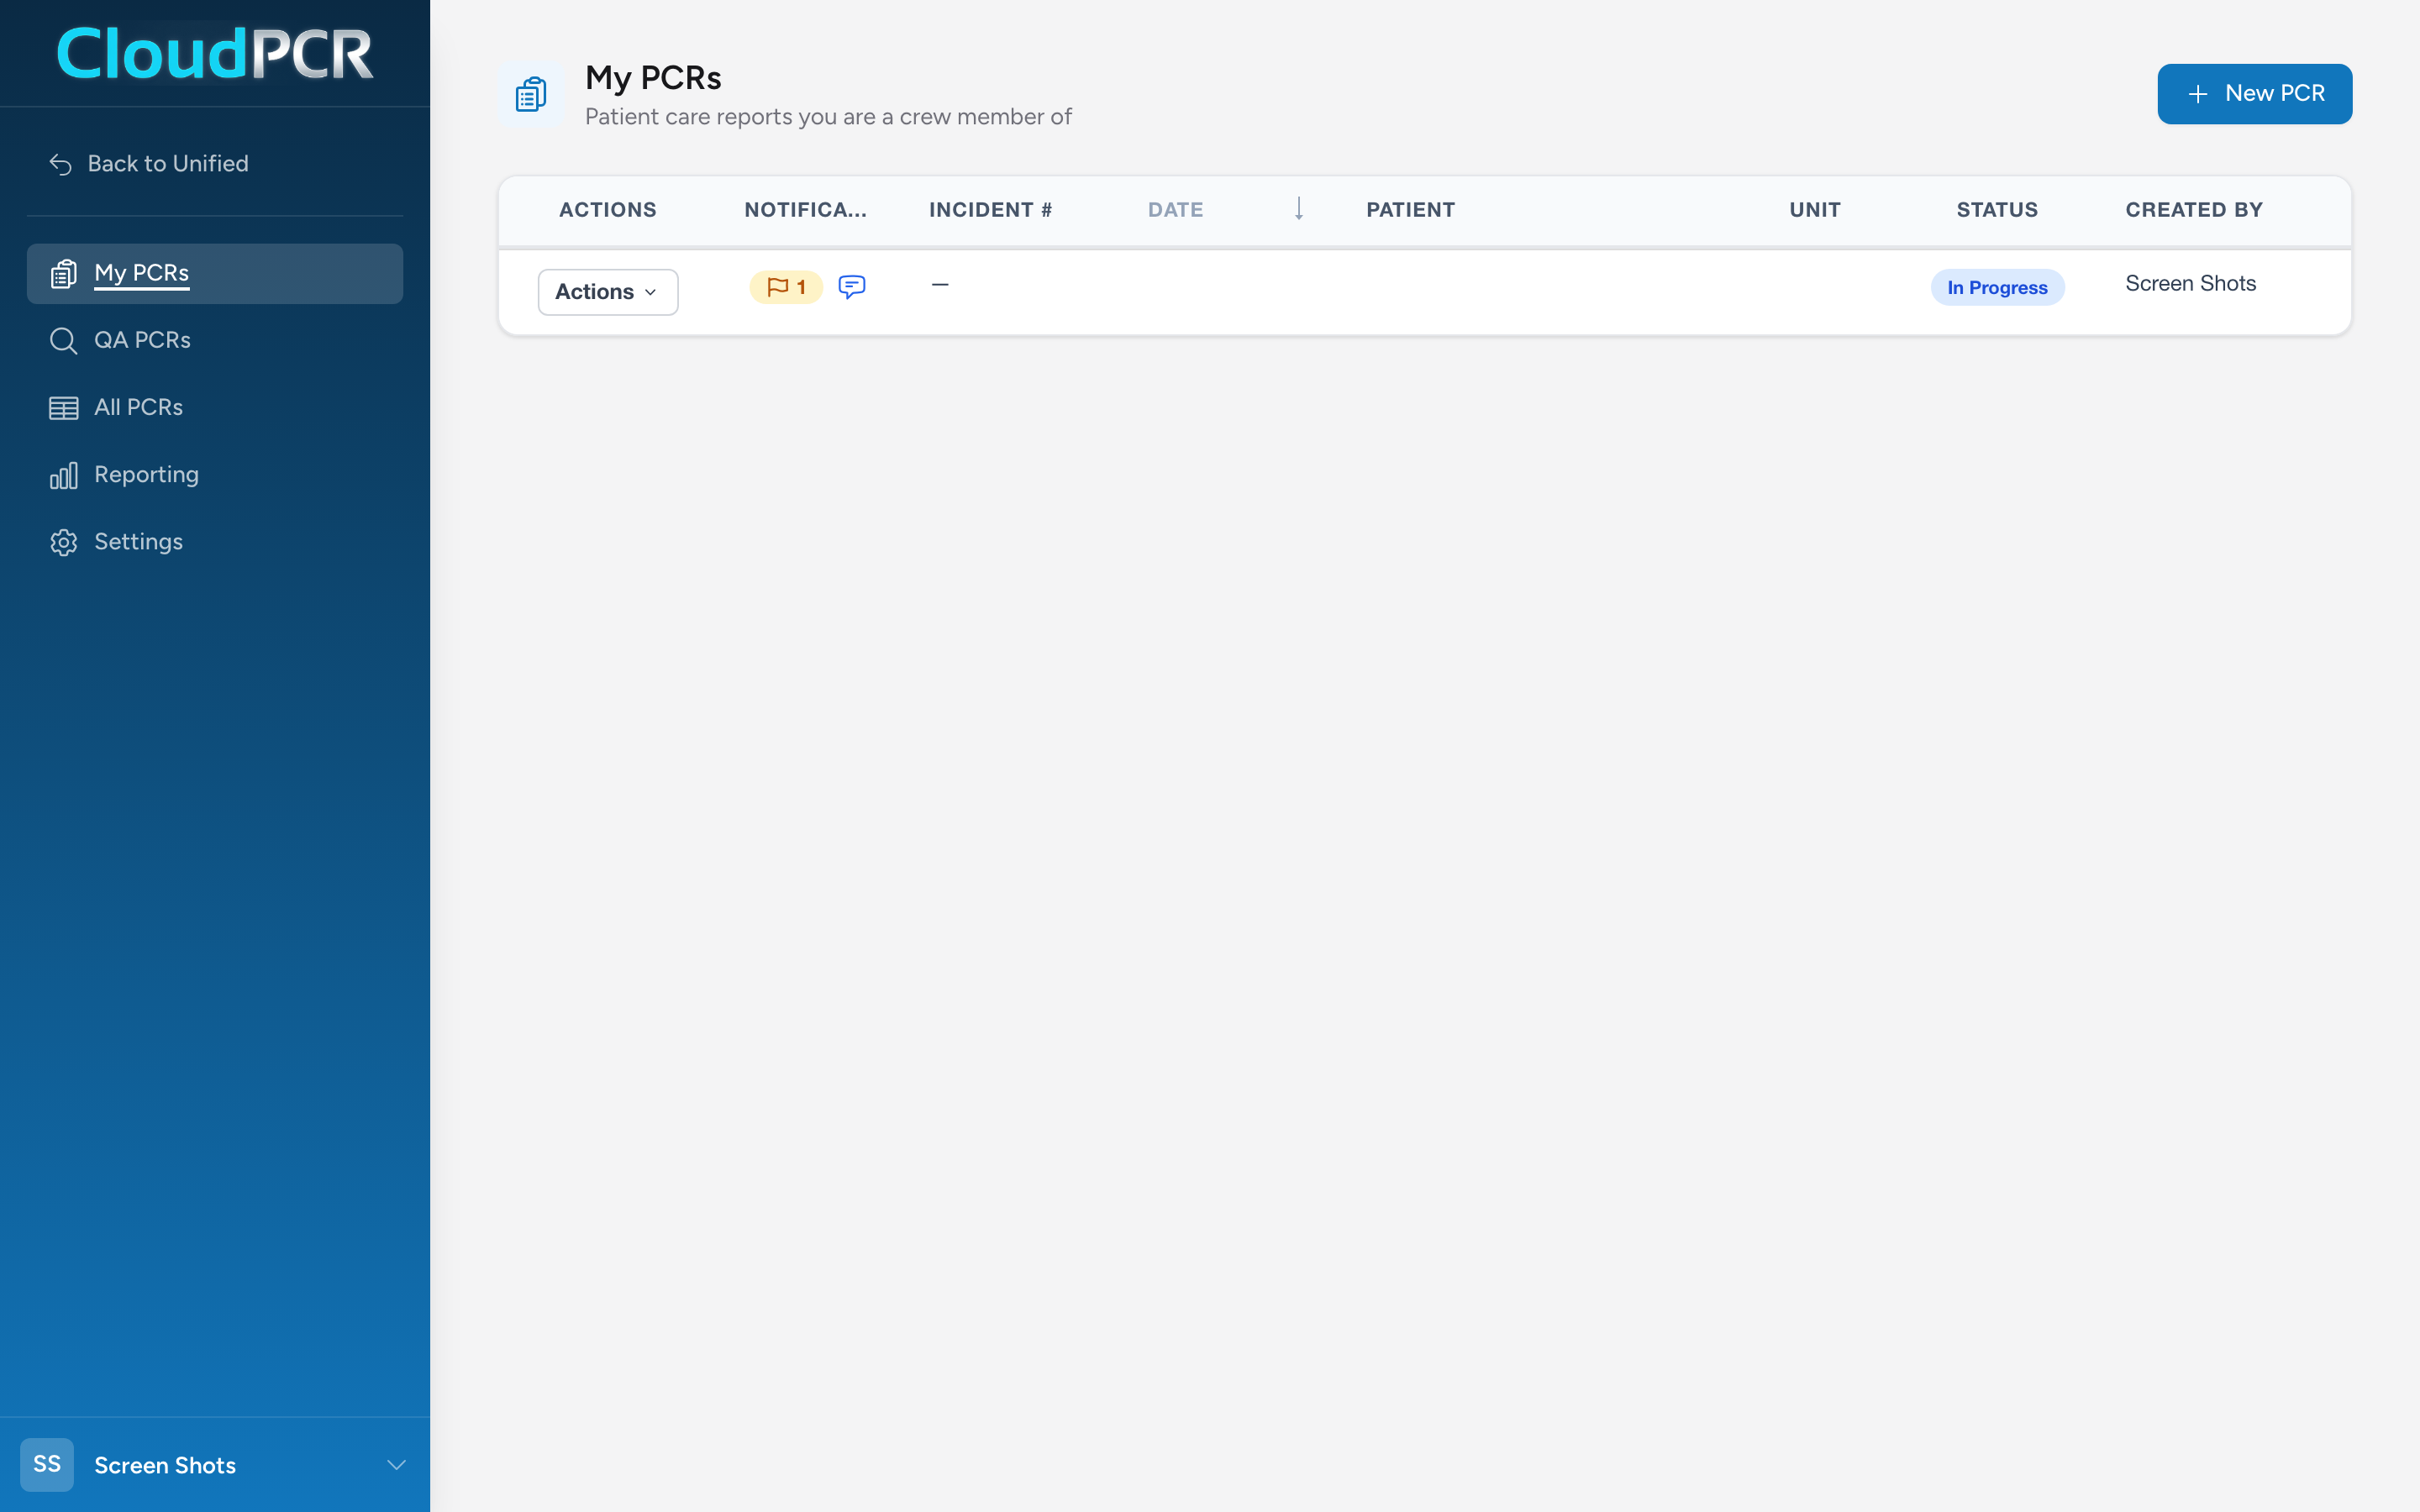
- From the menu, click My PCRs.
- Click New PCR.
- The PCR opens on the Incident tab, ready for you to start filling in.
If your agency turned on automatic incident numbers, the new PCR also gets a fresh incident number straight away. Otherwise the incident number field is blank and you type one in.
What to do first
The Incident tab is the right place to start because it sets up the basics — who responded, when, and where. Pick the Call Type, pick the Dispatch Reason, and fill in your unit information in the Response section. Then move to the Times section and use the clock buttons next to each time field to stamp each step of the call (call received, unit en route, arrived on scene, and so on) as it happens.
A typical sequence
For most calls, the order looks like this:
- Start the PCR when dispatch comes in.
- On the Incident tab, click the clock icon next to each time field as you go en route, arrive on scene, find the patient, and so on.
- Fill in the patient demographics on the Patient tab while you are with the patient.
- Record vitals, medications, and procedures on the Timeline tab as you do them.
- Pick the impression and complaints on the Assessment tab.
- Pick the disposition and destination on the Outcome tab when the call ends.
- Write the narrative.
- Capture signatures.
- Submit.
You do not have to follow this order exactly. CloudPCR saves your work as you type and you can move between tabs at any time.