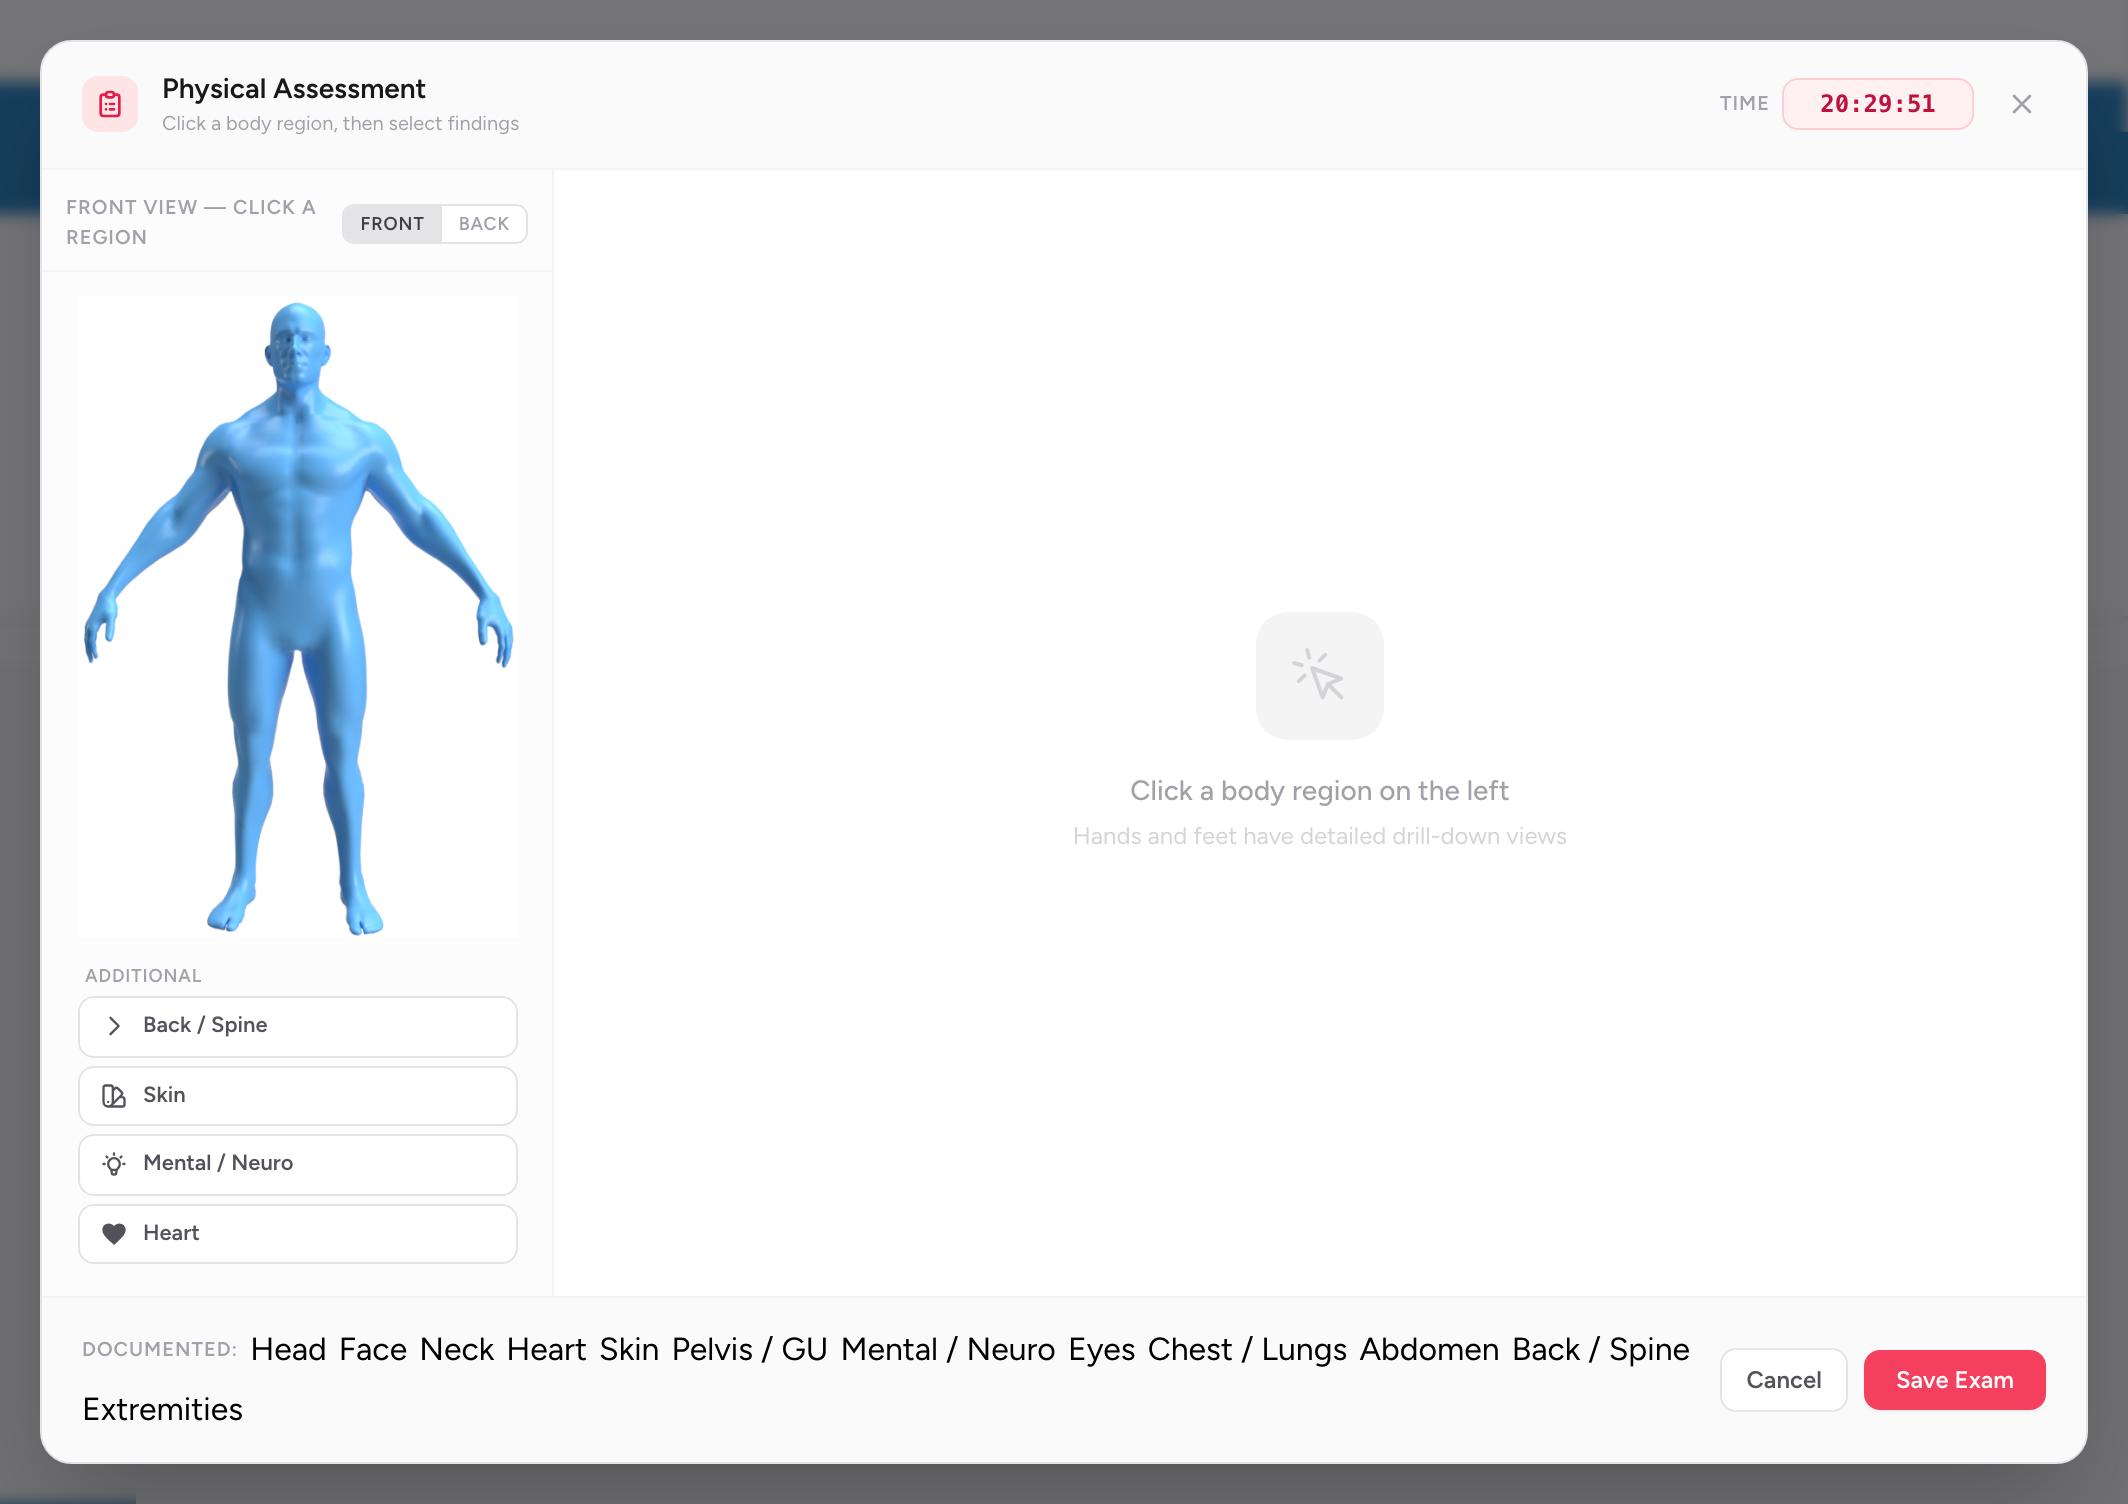
The + Exam button on the Timeline tab opens the Physical Assessment modal, where you record your findings on a body diagram. Click a body region, then pick findings — CloudPCR organizes them by NEMSIS body system.
Add an exam
- On the Timeline tab, click + Exam.
- Enter the time of the exam at the top of the modal.
- Click a body region to open its findings. Body regions available: Head, Face, Neck, Heart, Chest / Lungs, Abdomen, Pelvis / GU, Back / Spine, Extremities, Skin, Eyes, Mental / Neuro. Pick findings for each system you assessed.
- Click Save Exam.
What you do not have to fill in
Skip systems you did not assess on this call. CloudPCR will not force you to fill in every body system — just the ones you actually looked at. If you only examined the patient's chest and lungs on a respiratory call, record those findings and leave the rest blank.
Adding more than one exam
If the patient's status changed during the call, add a second exam entry at the later time. Both will appear on the Timeline in the order they happened. That is the most honest way to document an evolving presentation — "initial exam found X, reassessment at transfer found Y."
Tip: On a trauma call, documenting a negative finding matters. "No tenderness to the abdomen" in your initial exam protects you if the patient later develops abdominal pain in the hospital. Pick the "negative" option for each system you assessed, even if everything was normal.